You should have a proper email connected to your Systeme.io account — there’s no doubt about that…
Unless you want your emails to end up in the spam folder of your subscribers.
When I was doing this for the first time, it seemed really confusing to me.
But now I know it’s actually pretty simple, and I want to show you how to do it in a matter of minutes.
Important note: Systeme.io doesn’t allow Gmail or Yahoo addresses for sending emails. You need a custom domain email, like info@yourdomain.com.
Systeme.io is completely free to start — no credit card needed. Email automation is included on the free plan. Create your free account here →
Table of Contents
Why You Can’t Use Gmail or Yahoo with Systeme.io
Systeme.io only works with emails that use your own custom domain.
That means addresses like info@yourdomain.com, not youremail@gmail.com.
Here’s why:
- Gmail, Yahoo, and other free providers aren’t allowed under Systeme.io’s sender policy.
- Using free emails isn’t professional, and you risk your emails ending up in spam — meaning your subscribers never see them.
If you don’t have a custom email yet, don’t worry — I’ll show you how to get one in just a few minutes using Namecheap.
How to Get a Custom Email Address with Namecheap
- Log into your Namecheap account (or create one if you don’t have it yet).
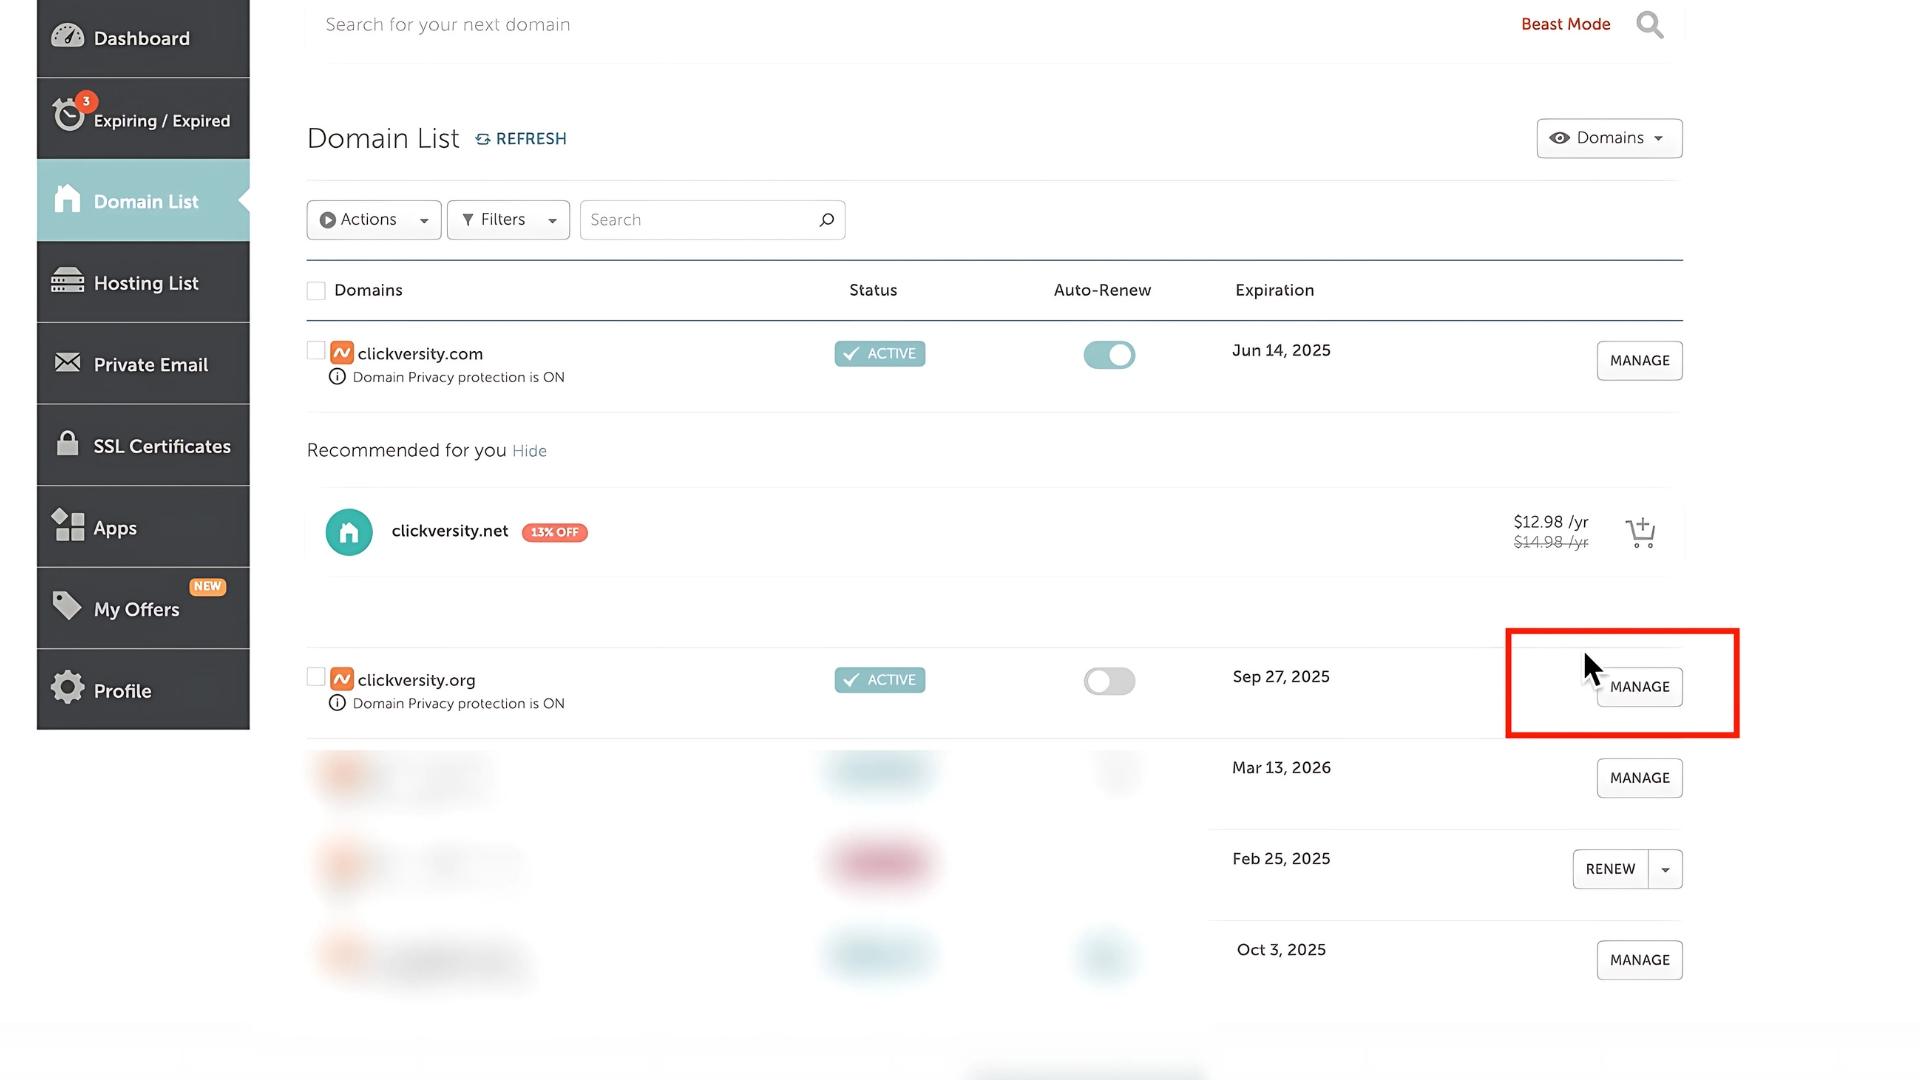
- Go to the Domain List, choose the domain you want to use and click on manage.
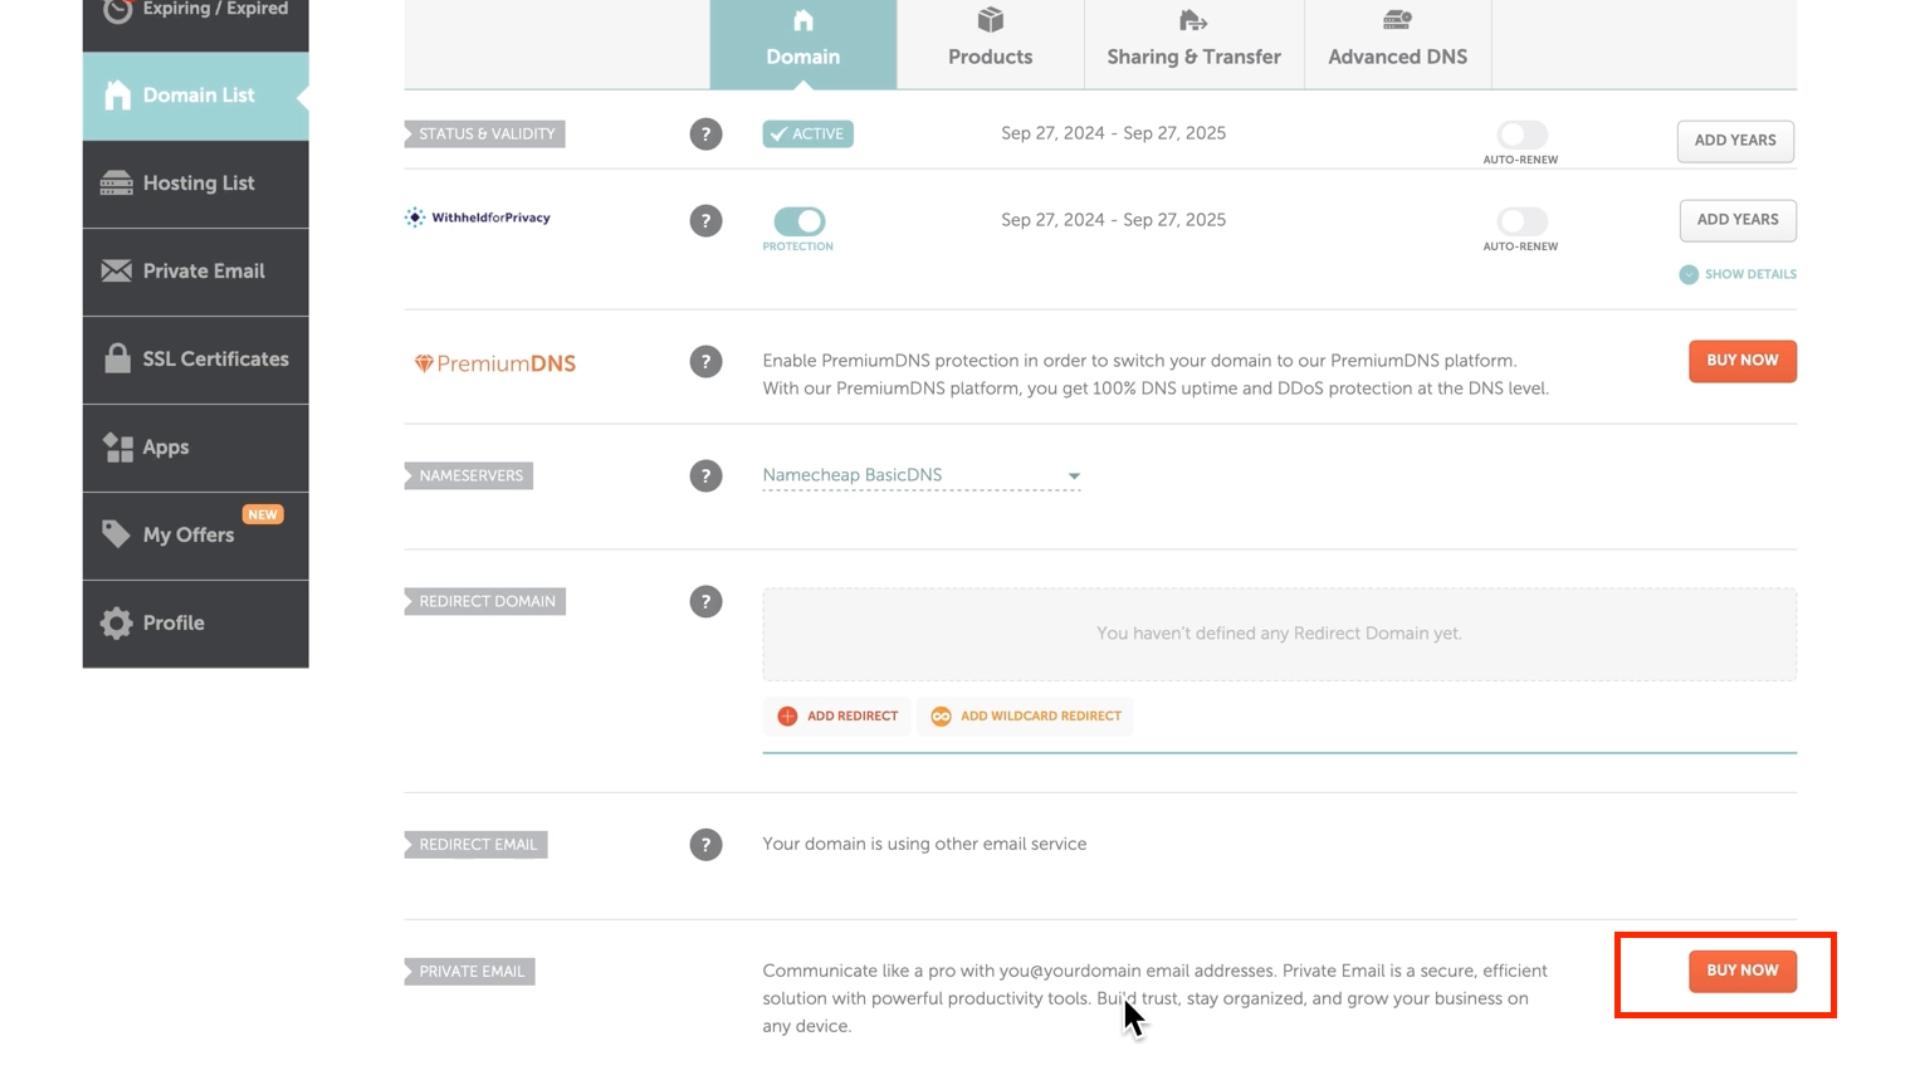
- Scroll to the Private Email section and click Buy Now.
- You can start with a free 2-month trial, or choose a plan — it’s only around $15/year.
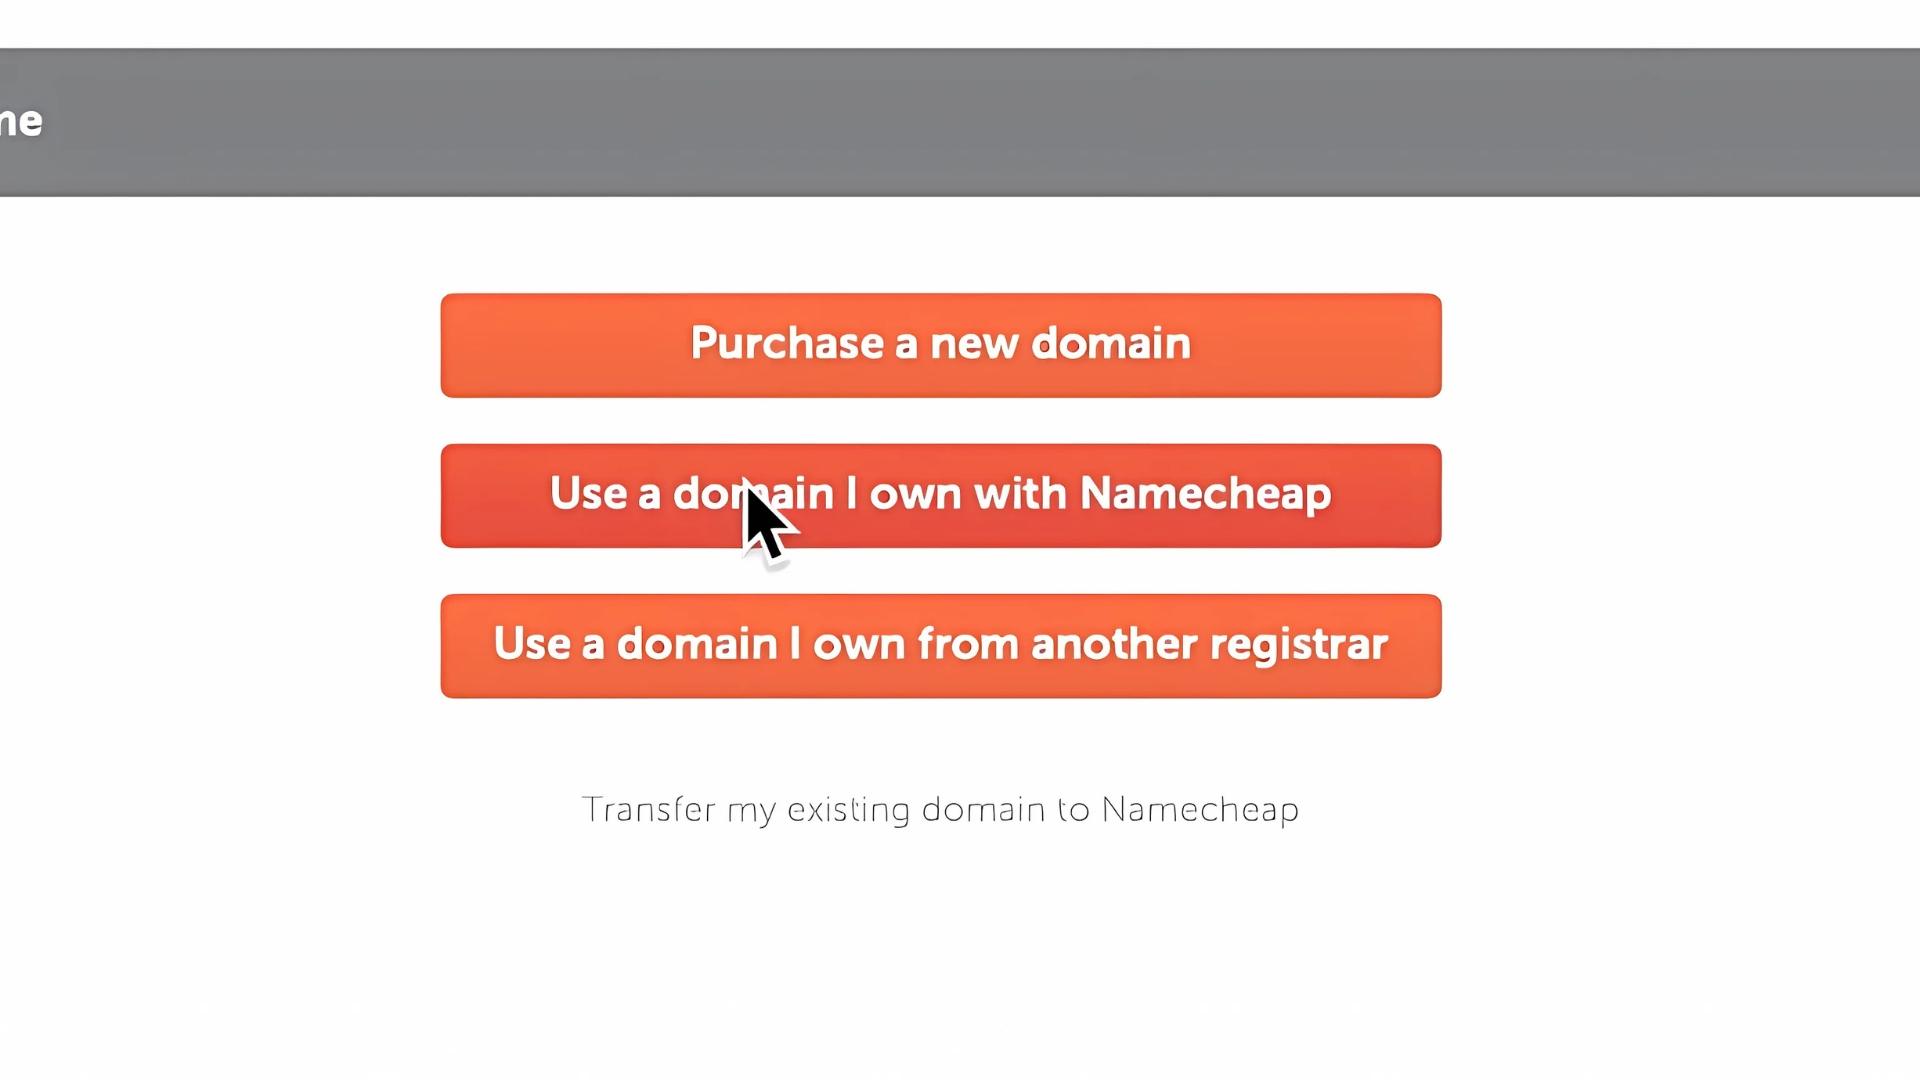
- Select the domain you already own (no need to buy a new one).
- Choose how many mailboxes you want. If you’re just starting, one is enough.
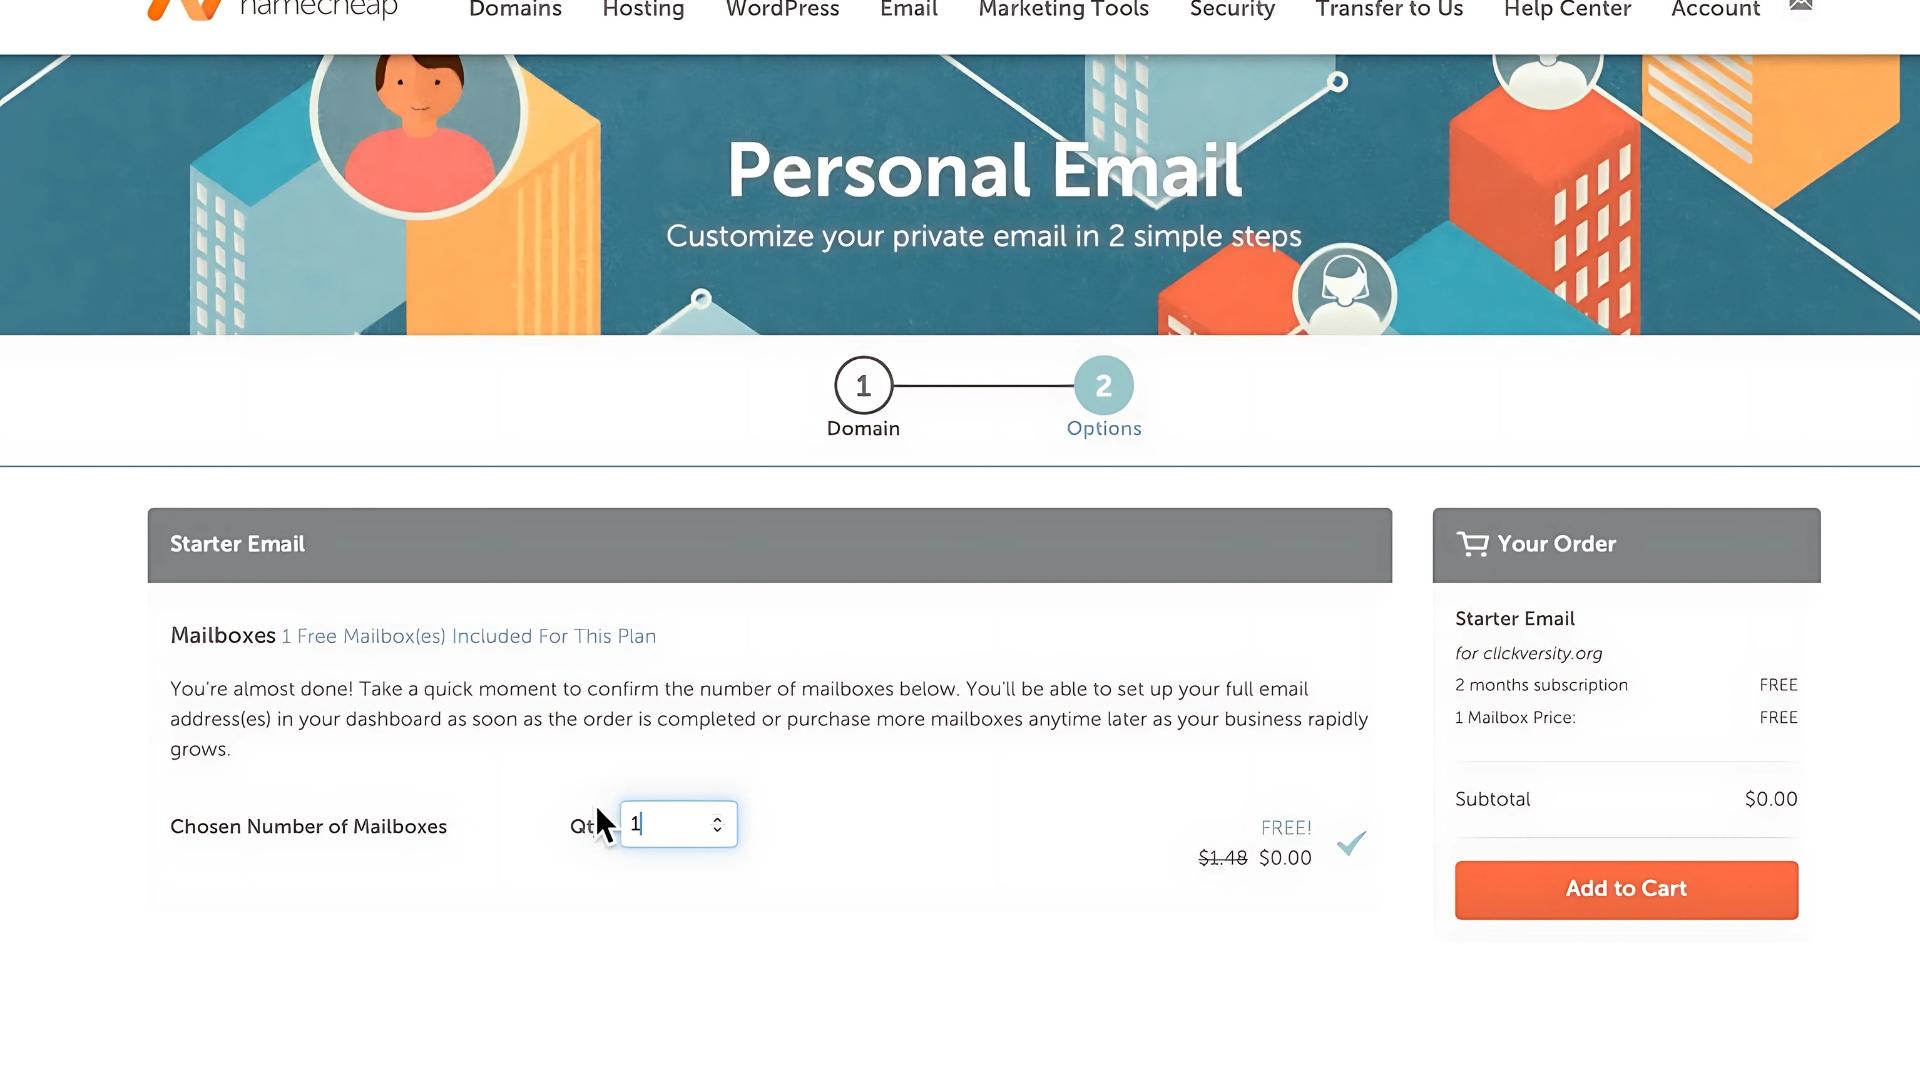
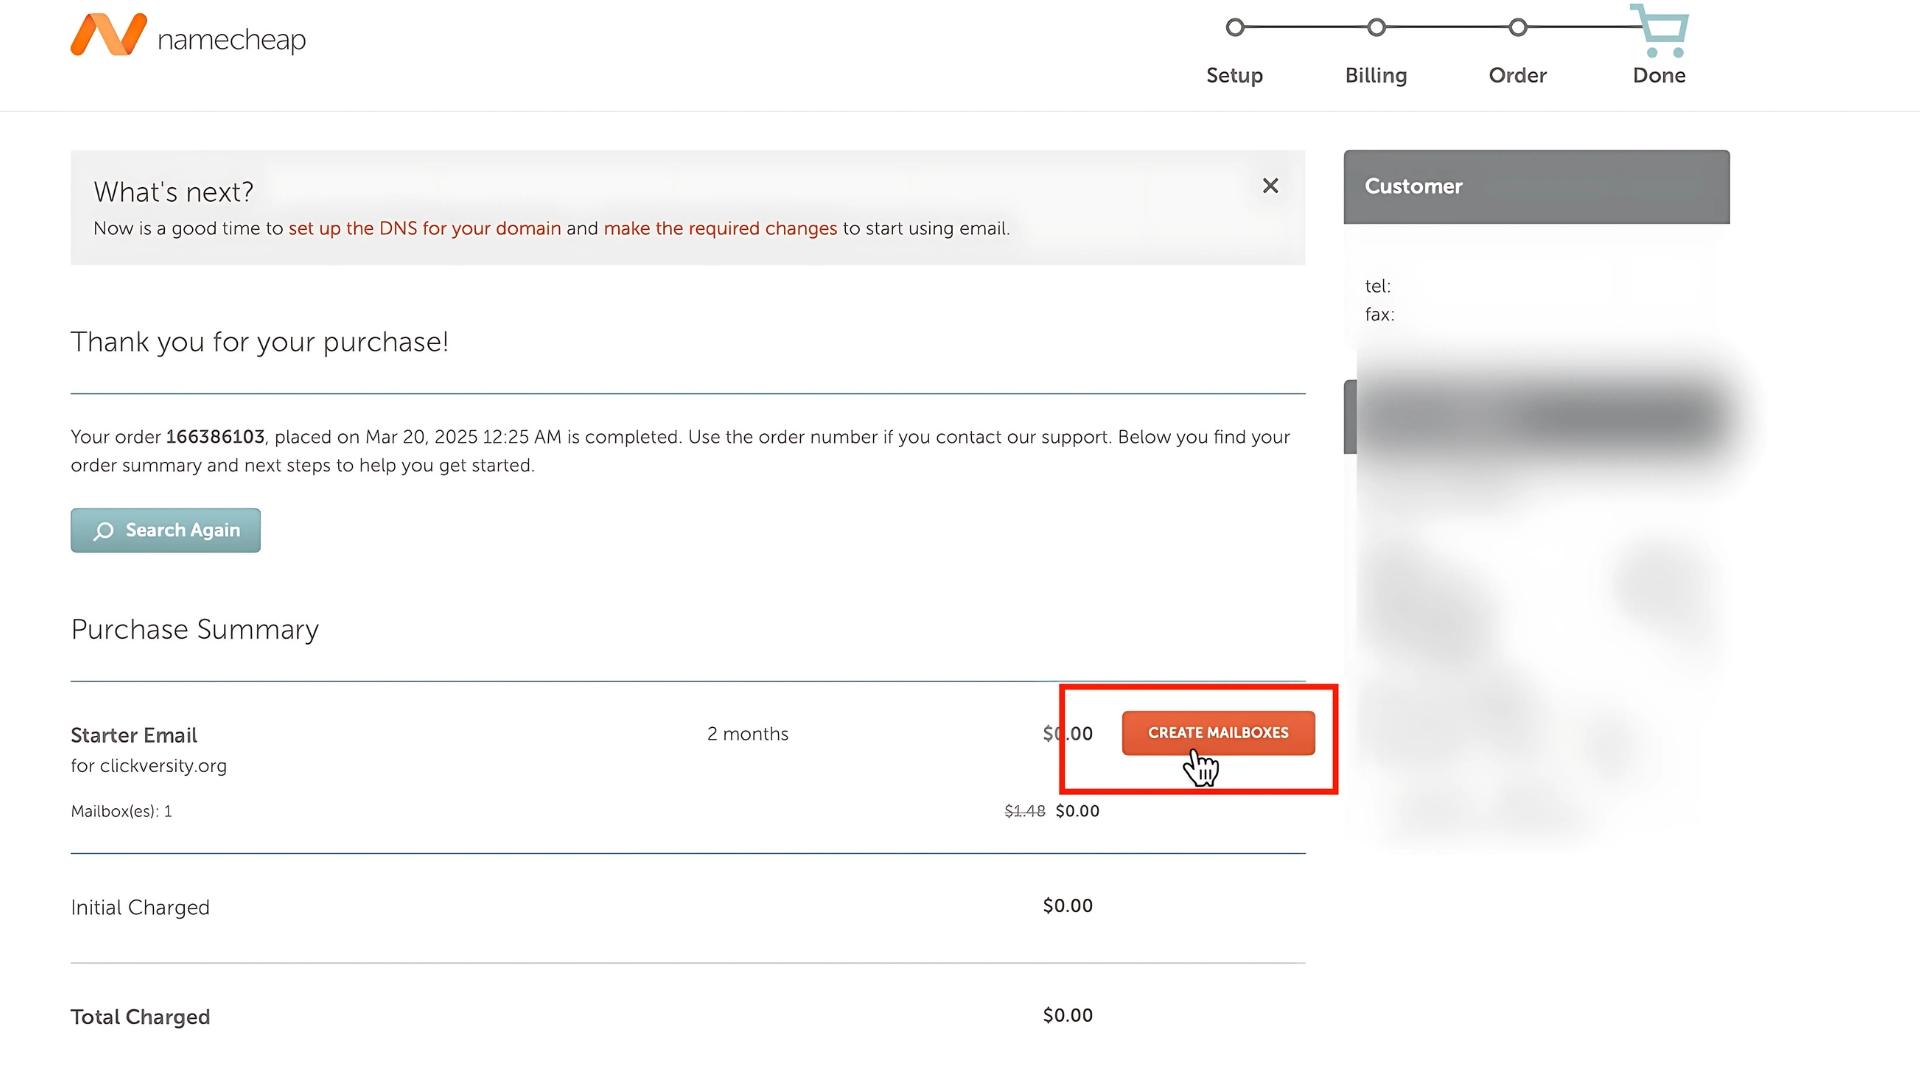
- Confirm your order, agree to the terms, and pay.
- After payment, click Create Mailboxes.
- Choose your email (e.g.,
info@yourdomain.com) and set a password.
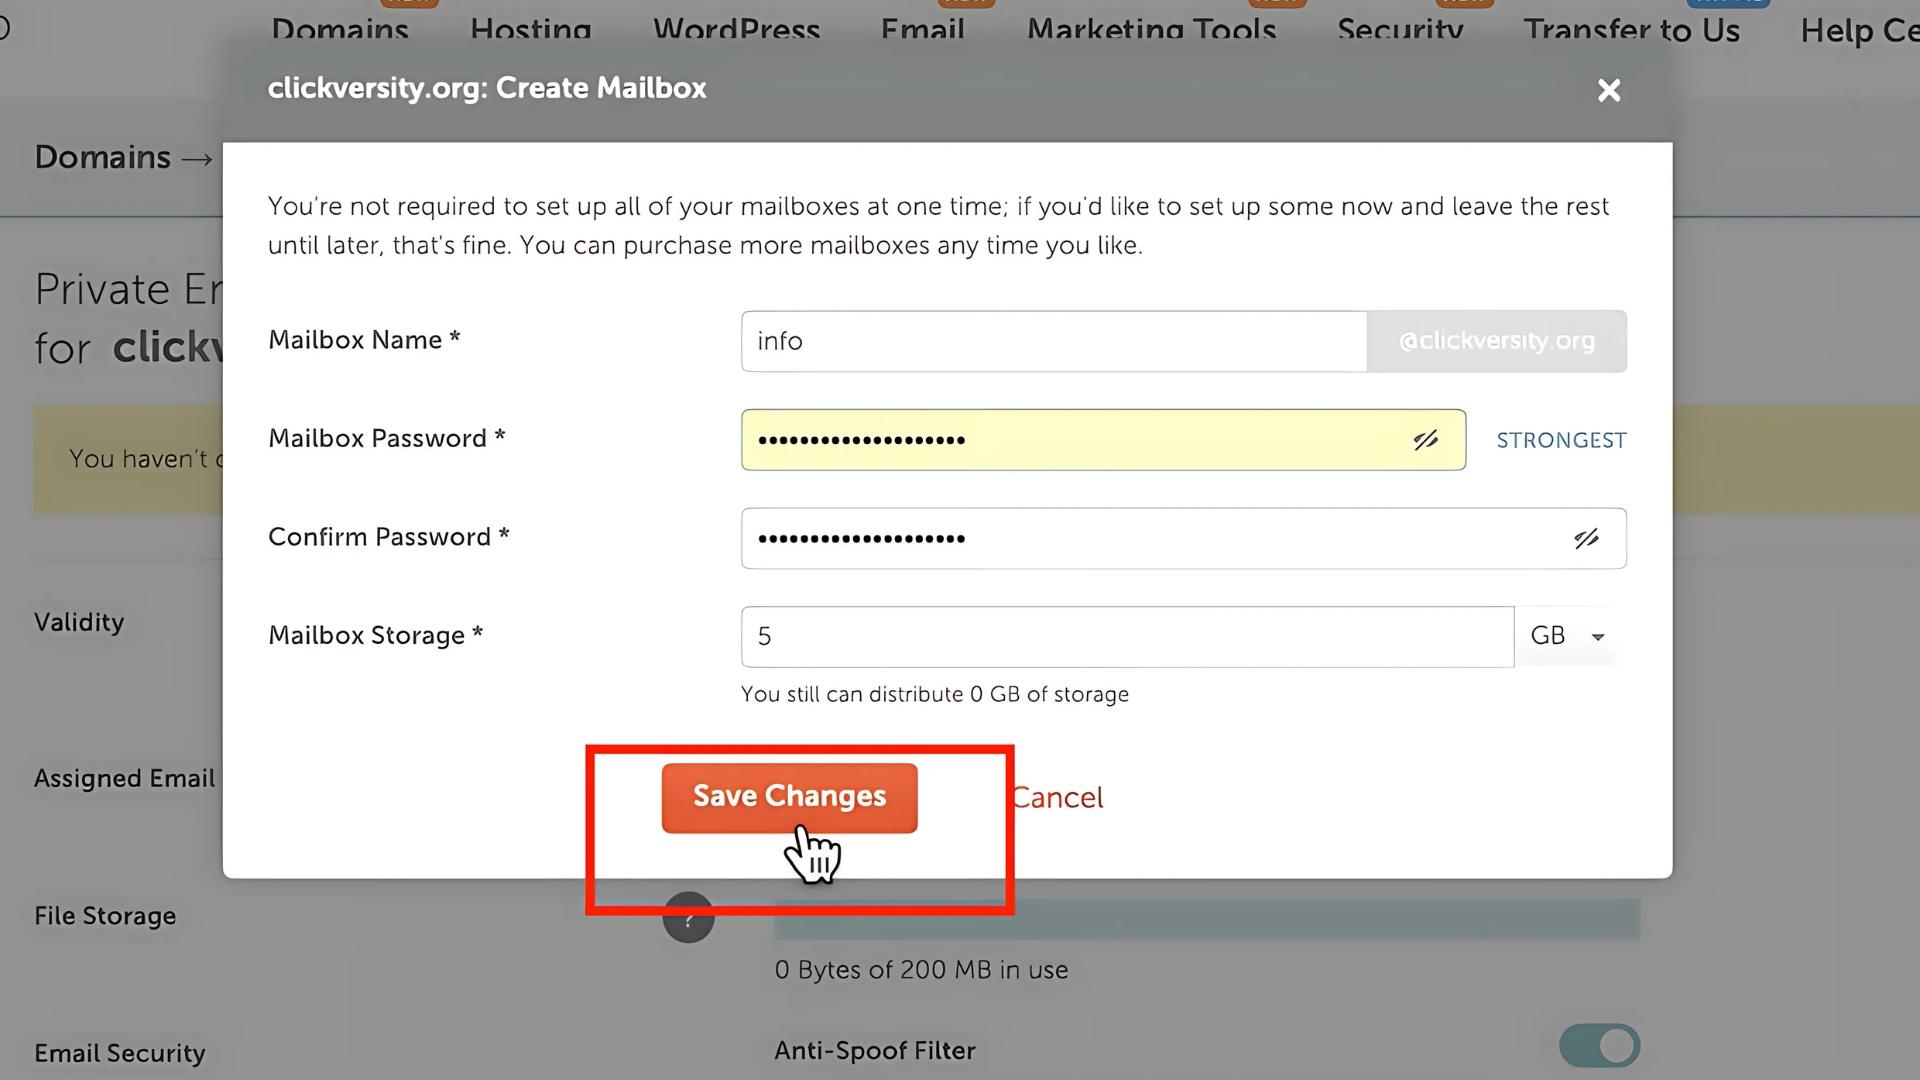
That’s it — your mailbox is now active!
How to Authenticate Your Domain in Systeme.io
With your mailbox created, the next step is connecting it to Systeme.io.
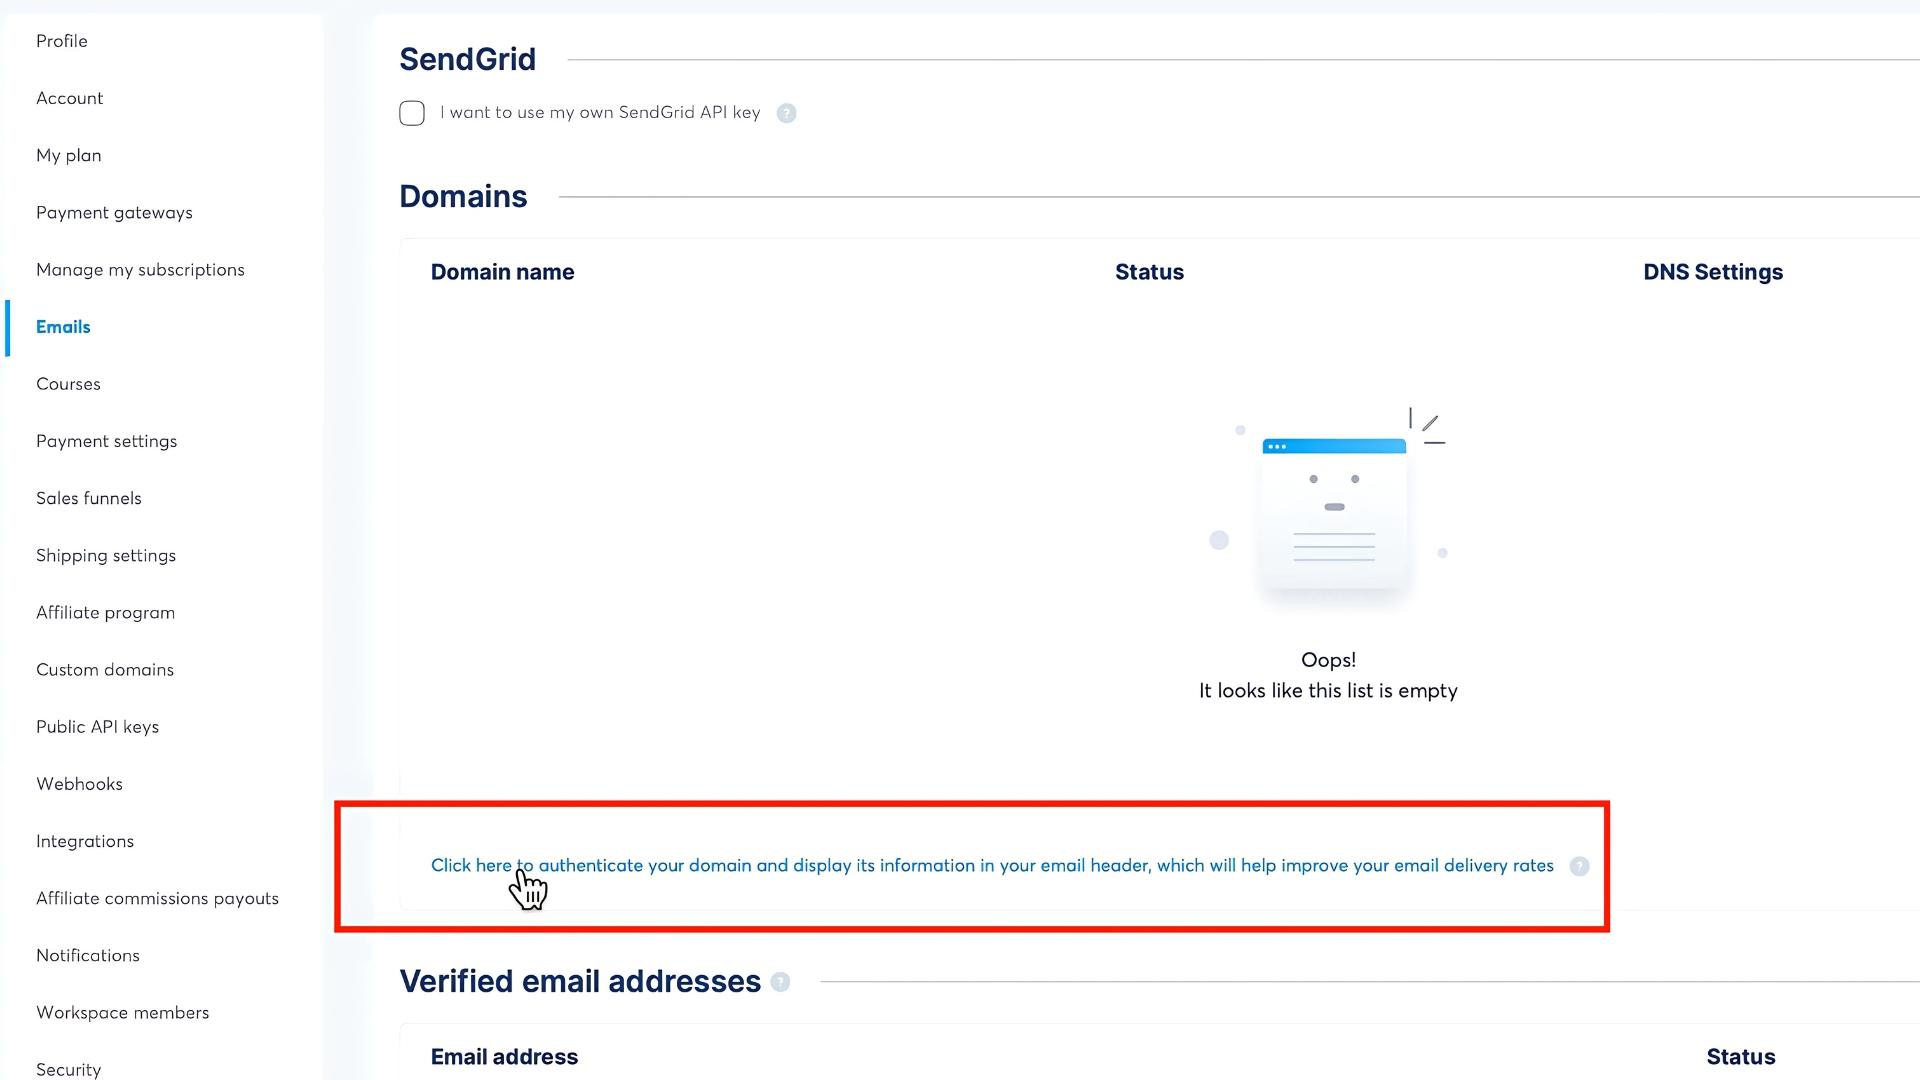
- Go to your Systeme.io dashboard → Settings → Emails
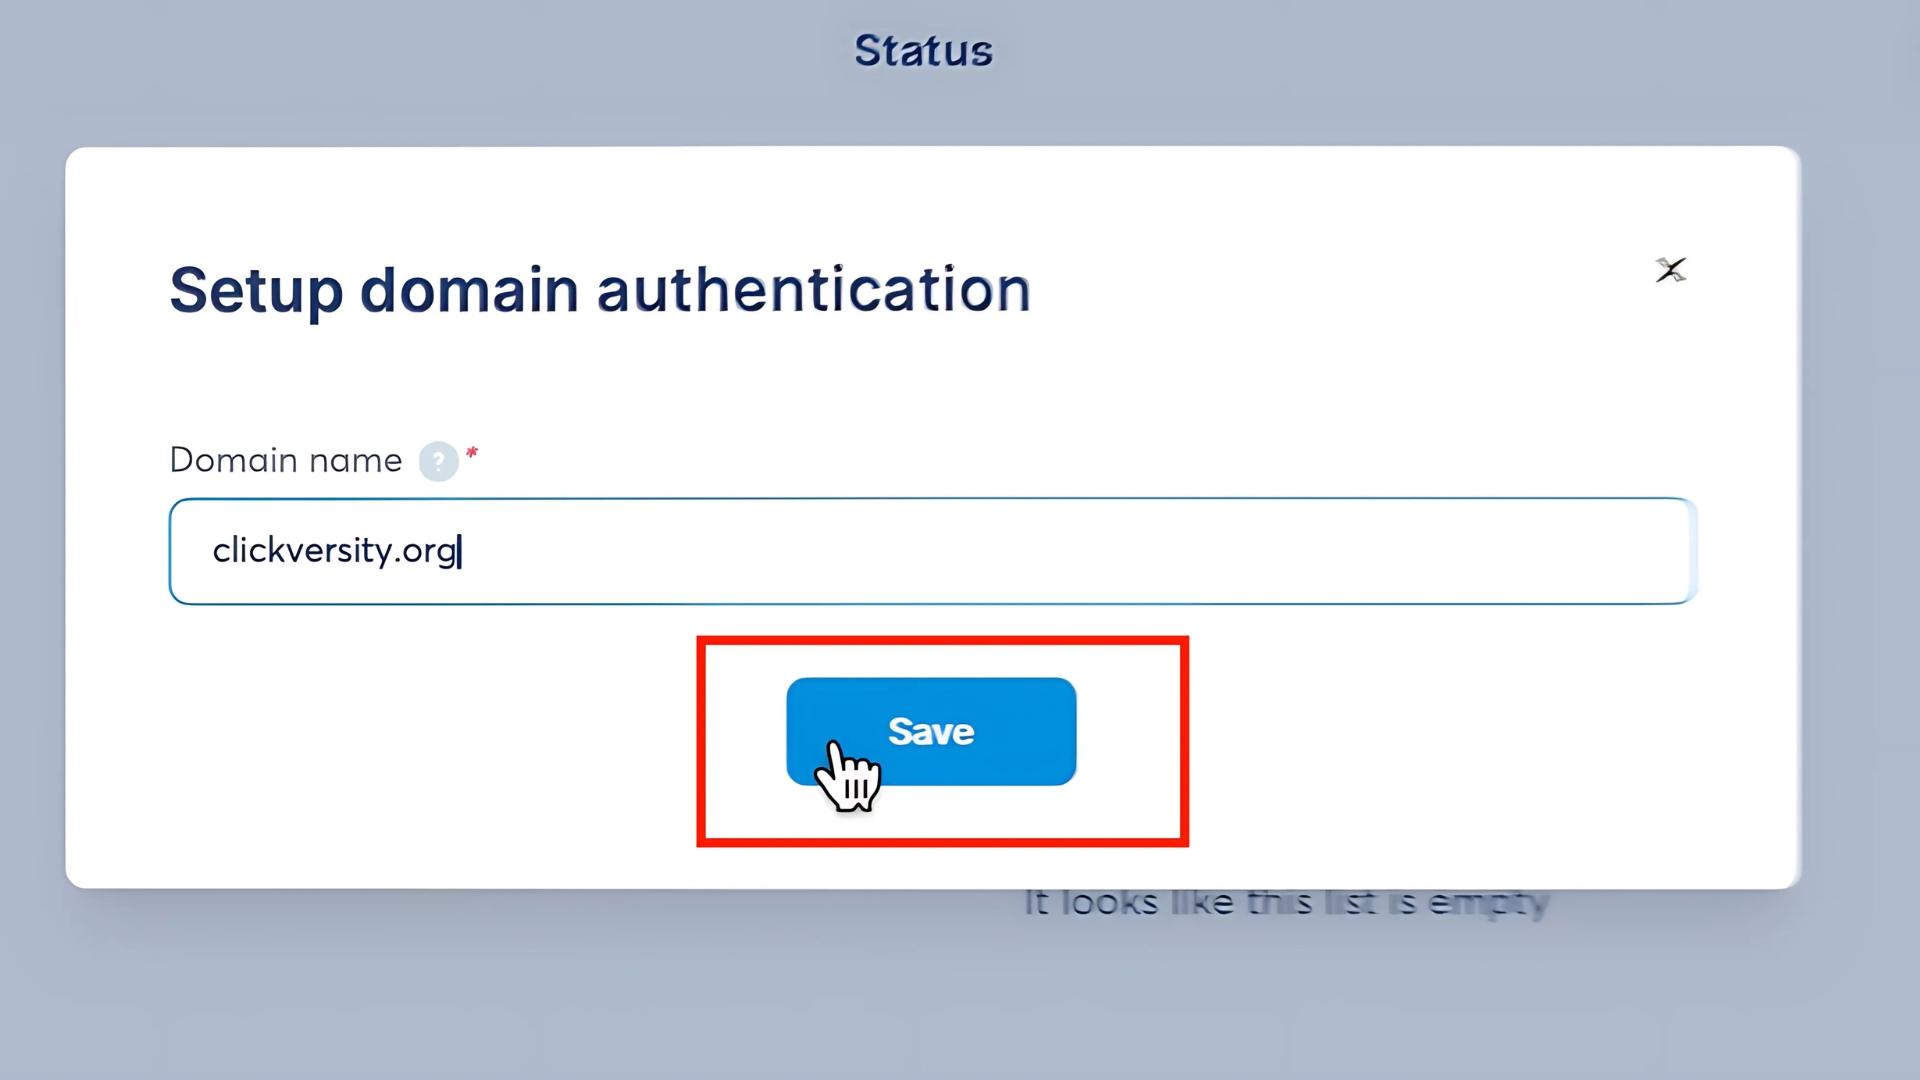
- Click Authenticate Your Domain
- Enter your domain name (e.g.,
yourdomain.com) and click Save
- Systeme.io will give you DNS records — usually a few CNAMEs and one TXT record
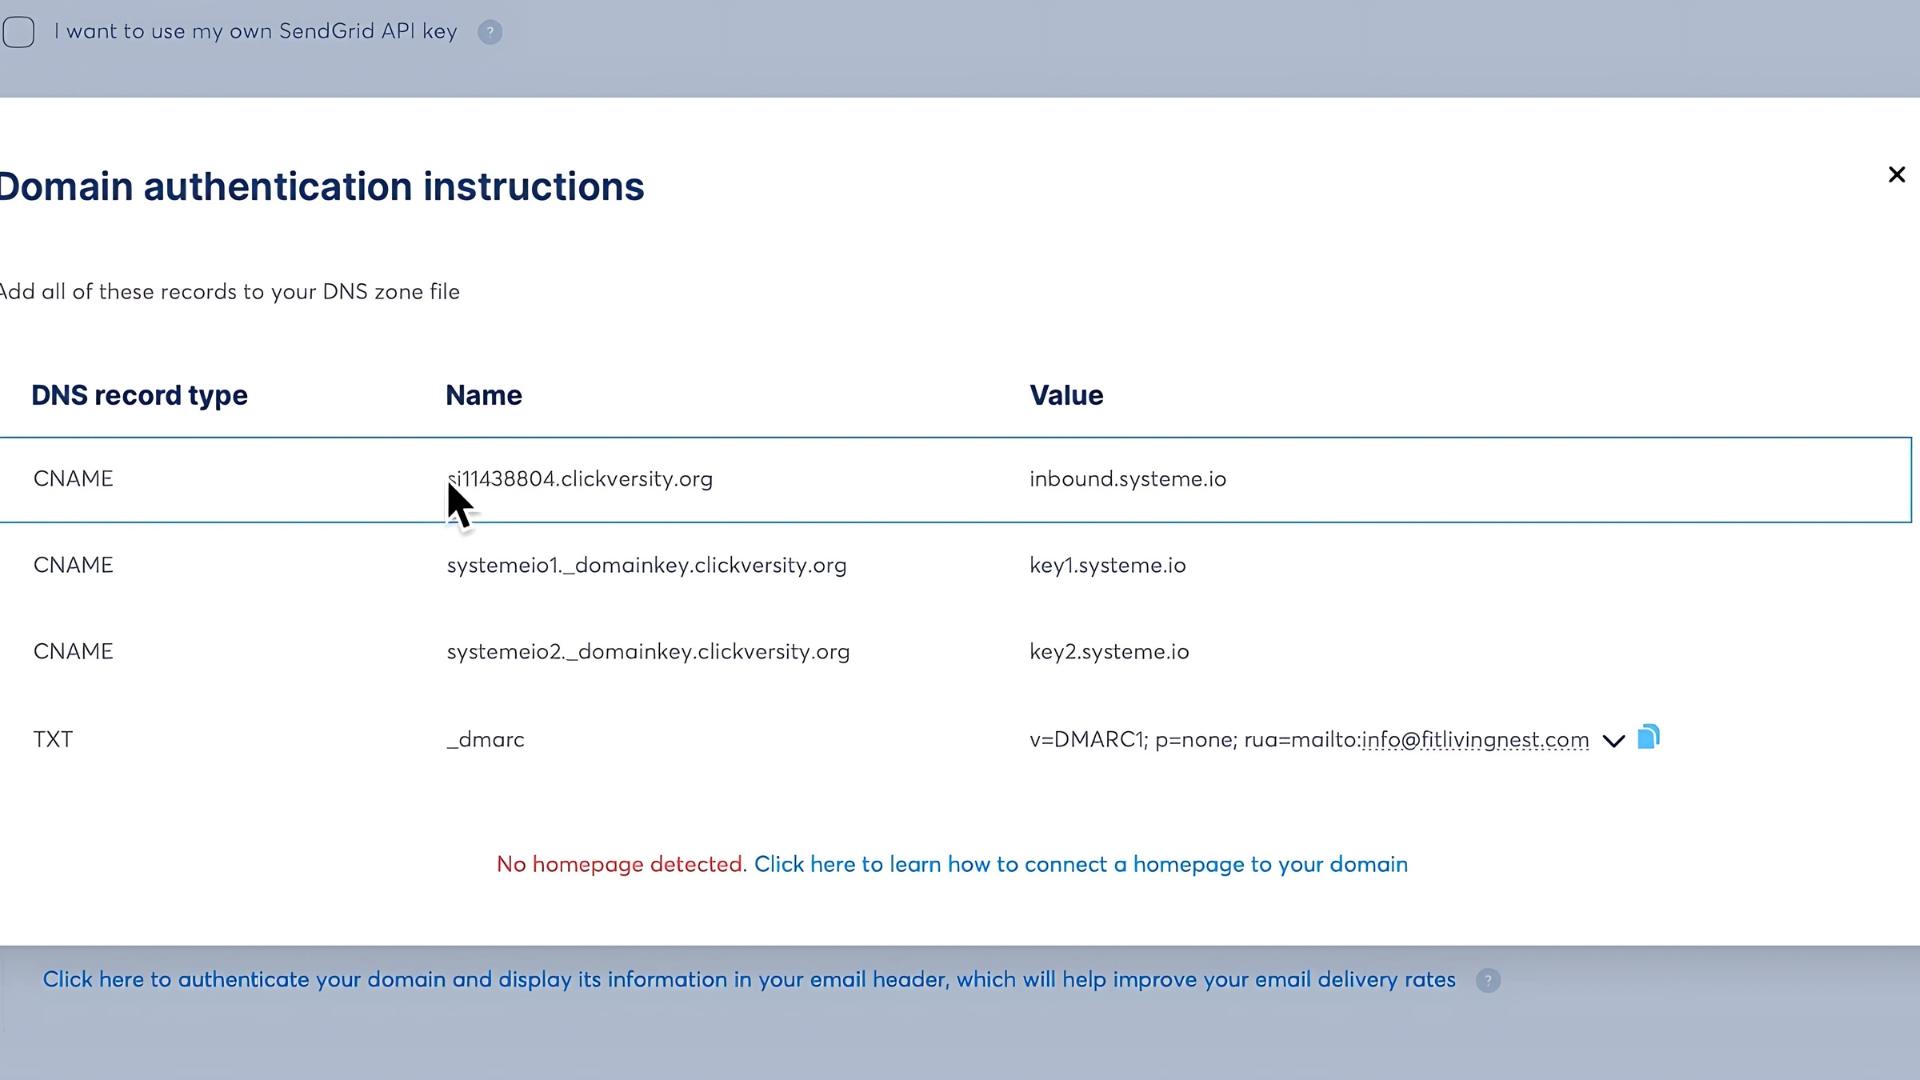
Add these records in Namecheap:
- Go to Domain List → Manage → Advanced DNS
- Click Add New CNAME Record for each one

- For Host, copy only the part before your domain (e.g.,
systemeio1._domainkey)
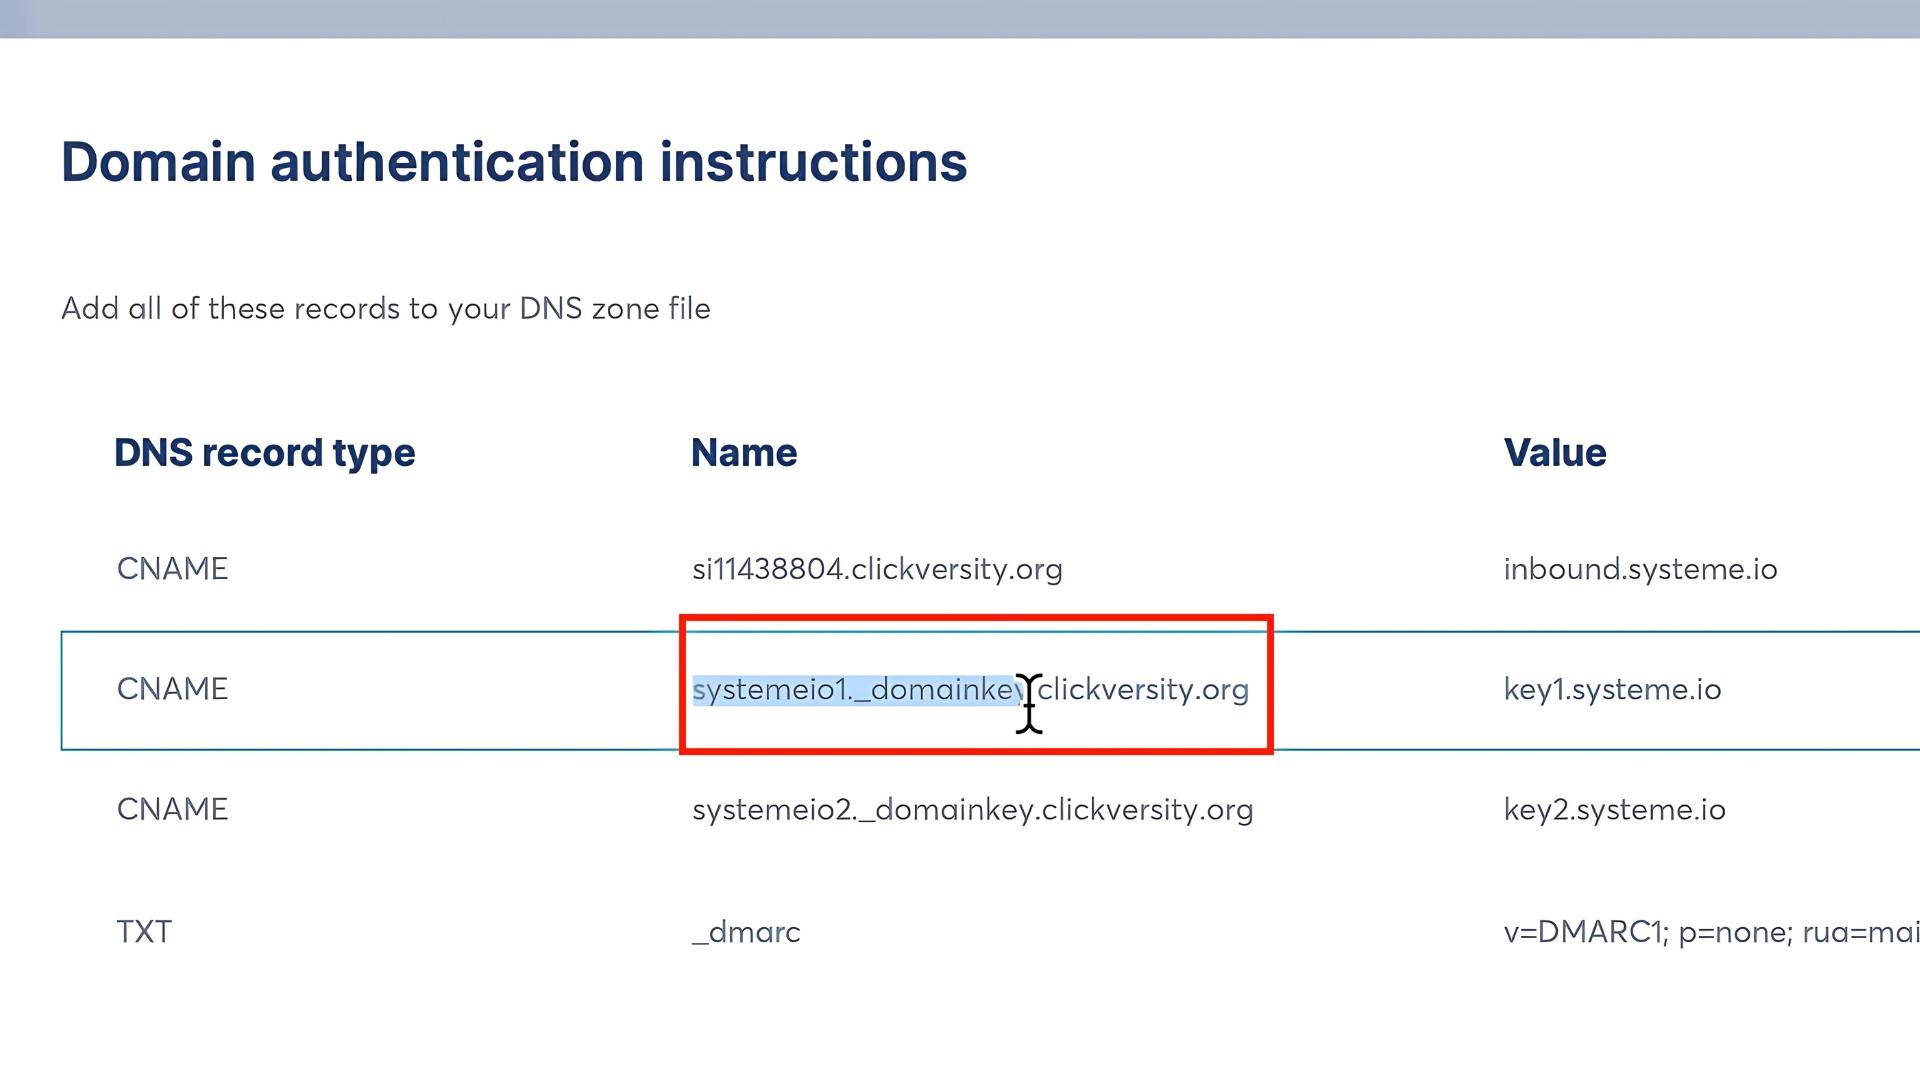
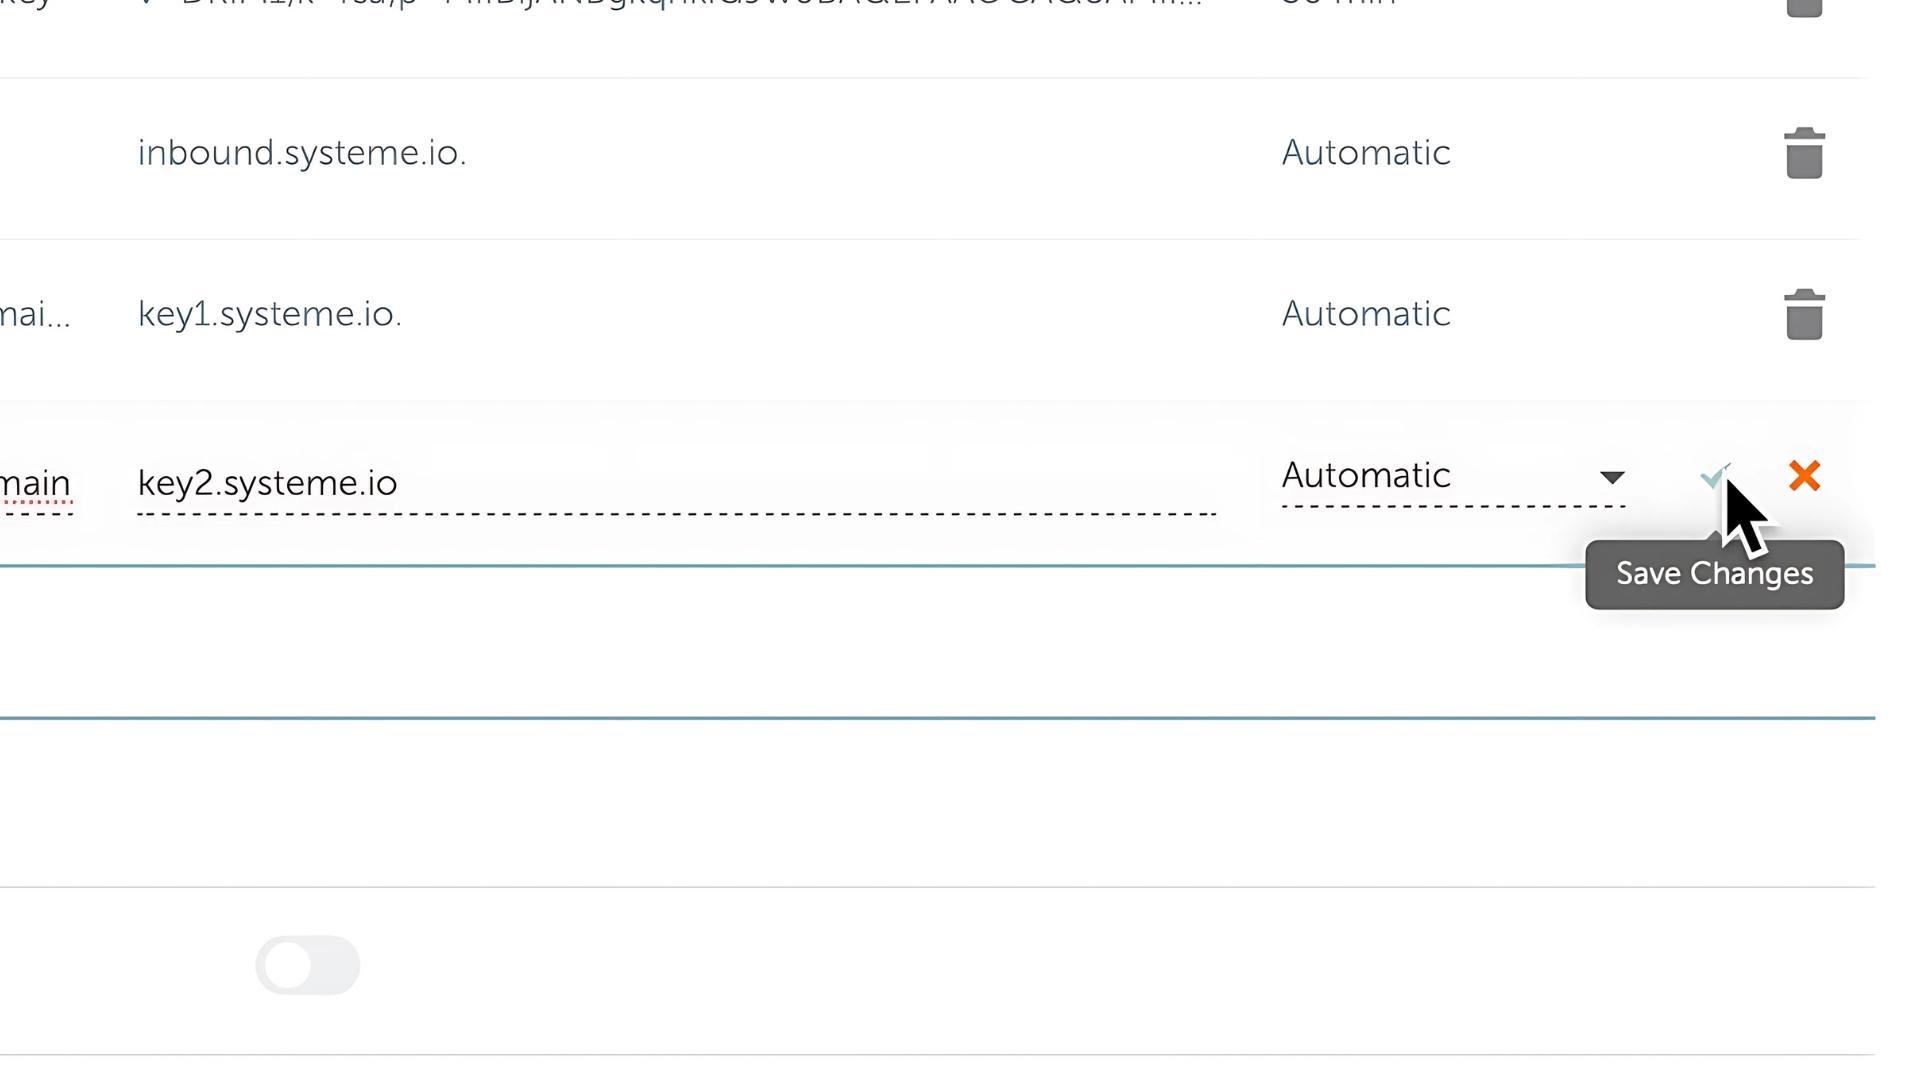
- For Value, copy the full value provided by Systeme.io
- Set TTL to “Automatic”
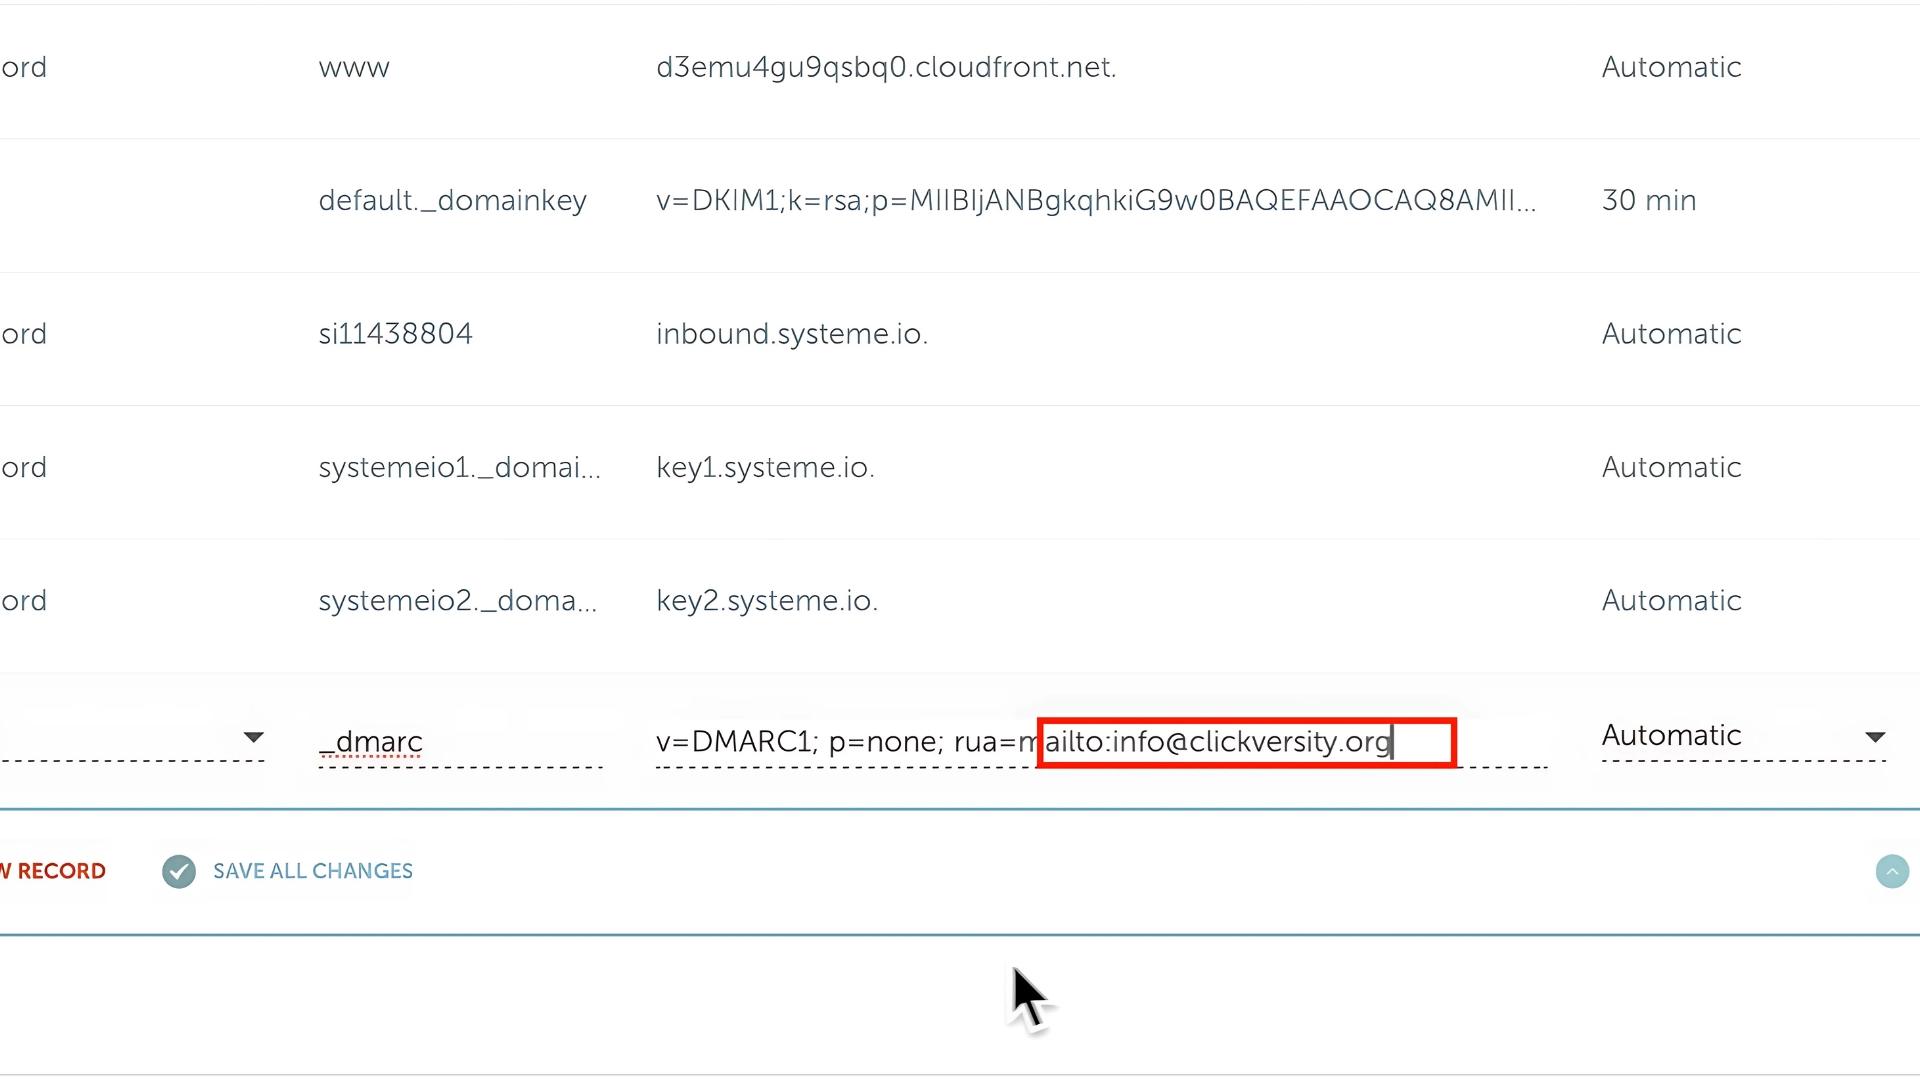
- Repeat this for all records, including the TXT record
- Make sure you put the correct email address when adding the TXT record!
- Save each record
Watch video for better understanding 🙂
📌 Tip: Be patient! DNS changes can take up to 48 hours to update and verify inside Systeme.io.
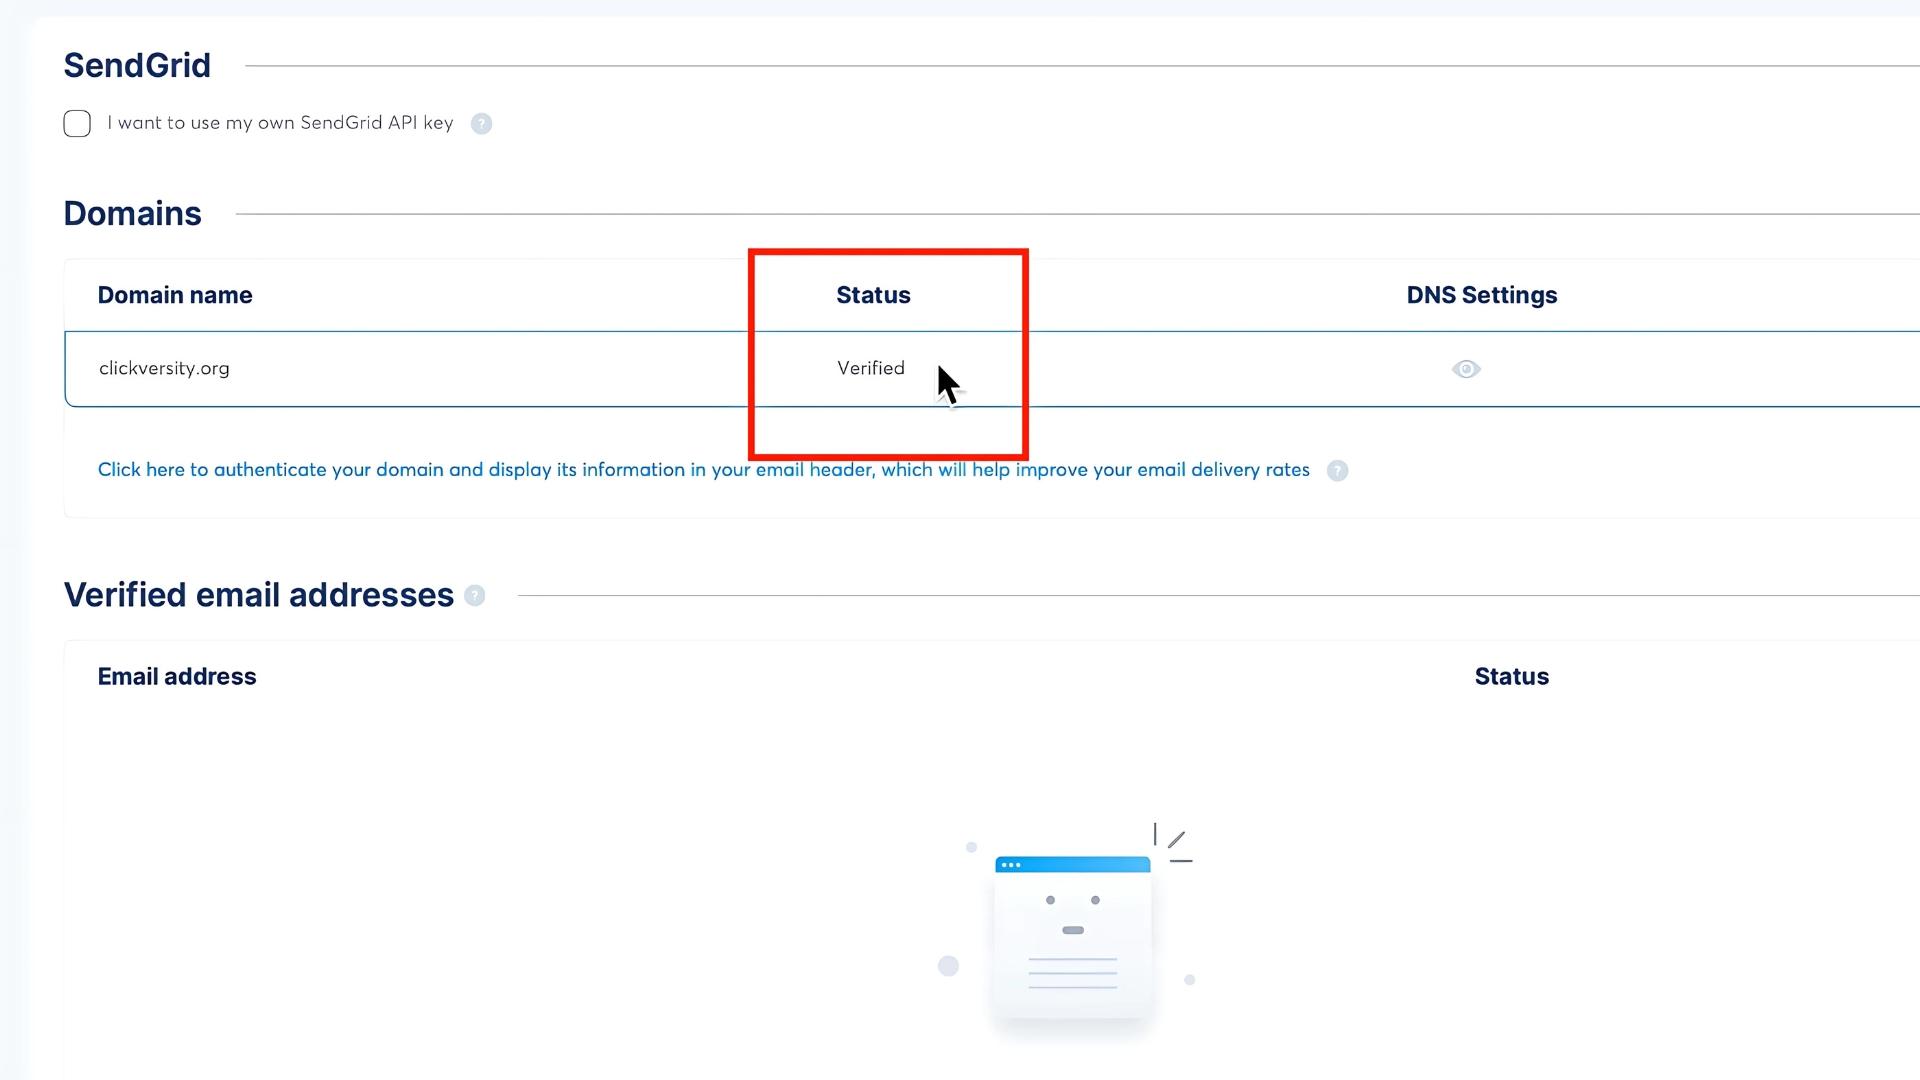
Verifying Your Email Address in Systeme.io
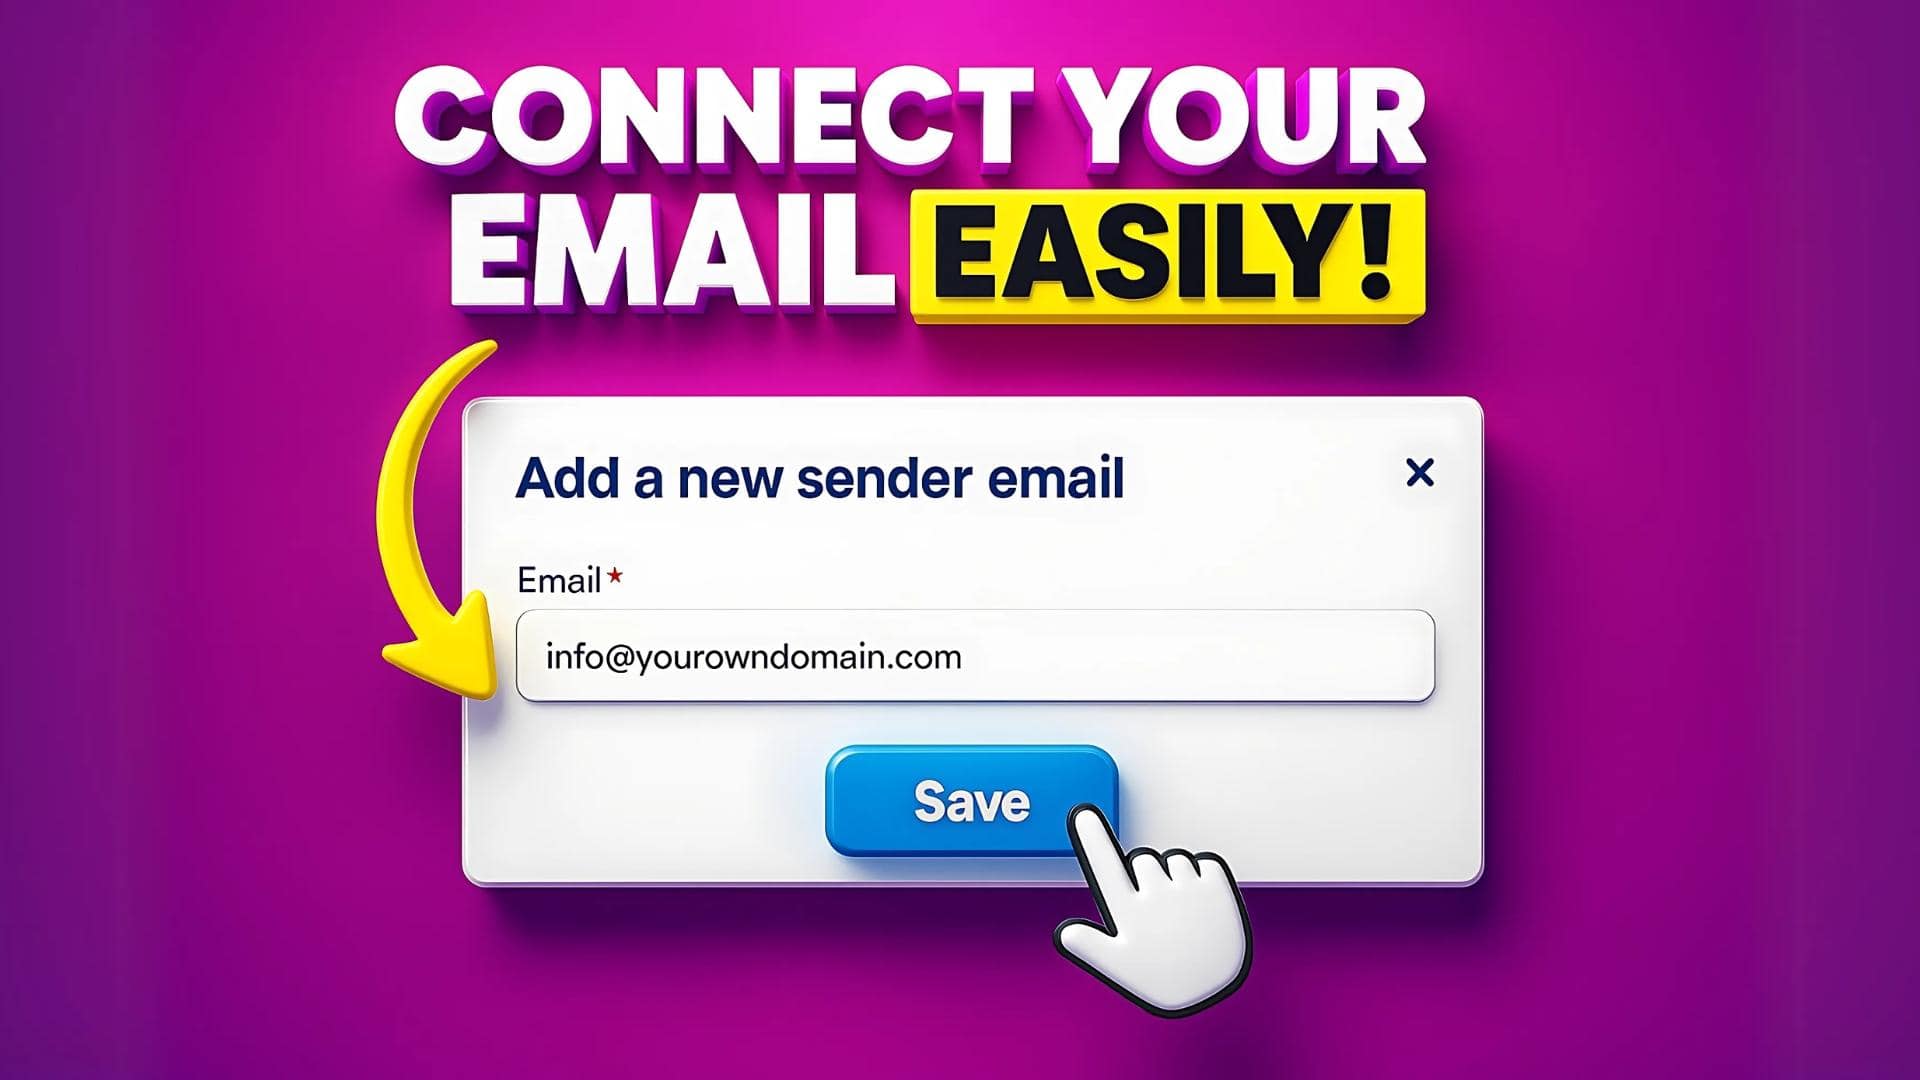
Once your domain is verified, it’s time to add and confirm your email address.
- In Systeme.io → Settings → Emails
- Paste your new email (e.g.,
info@yourdomain.com)
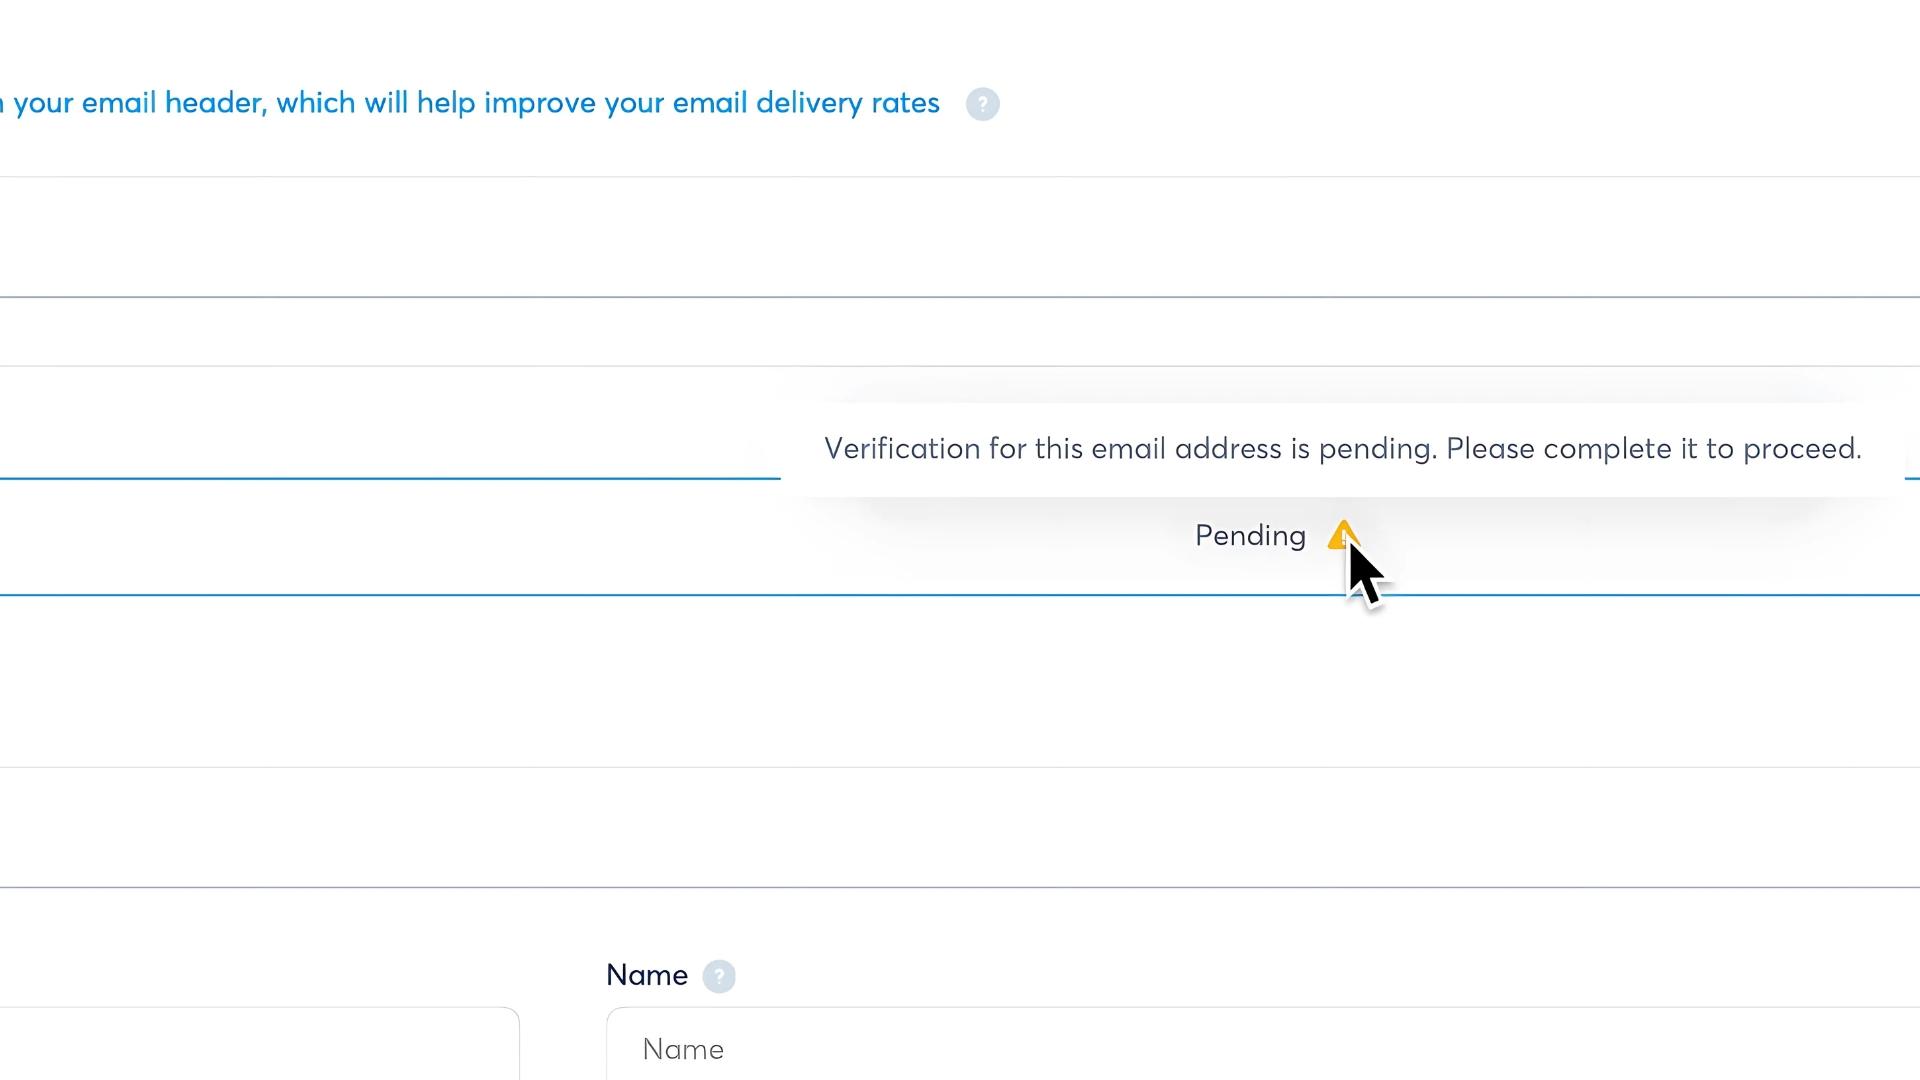
- You’ll see the status as Pending Verification
- Go to Namecheap → Private Email → Click Open Webmail
- Log in using the email address and password you created
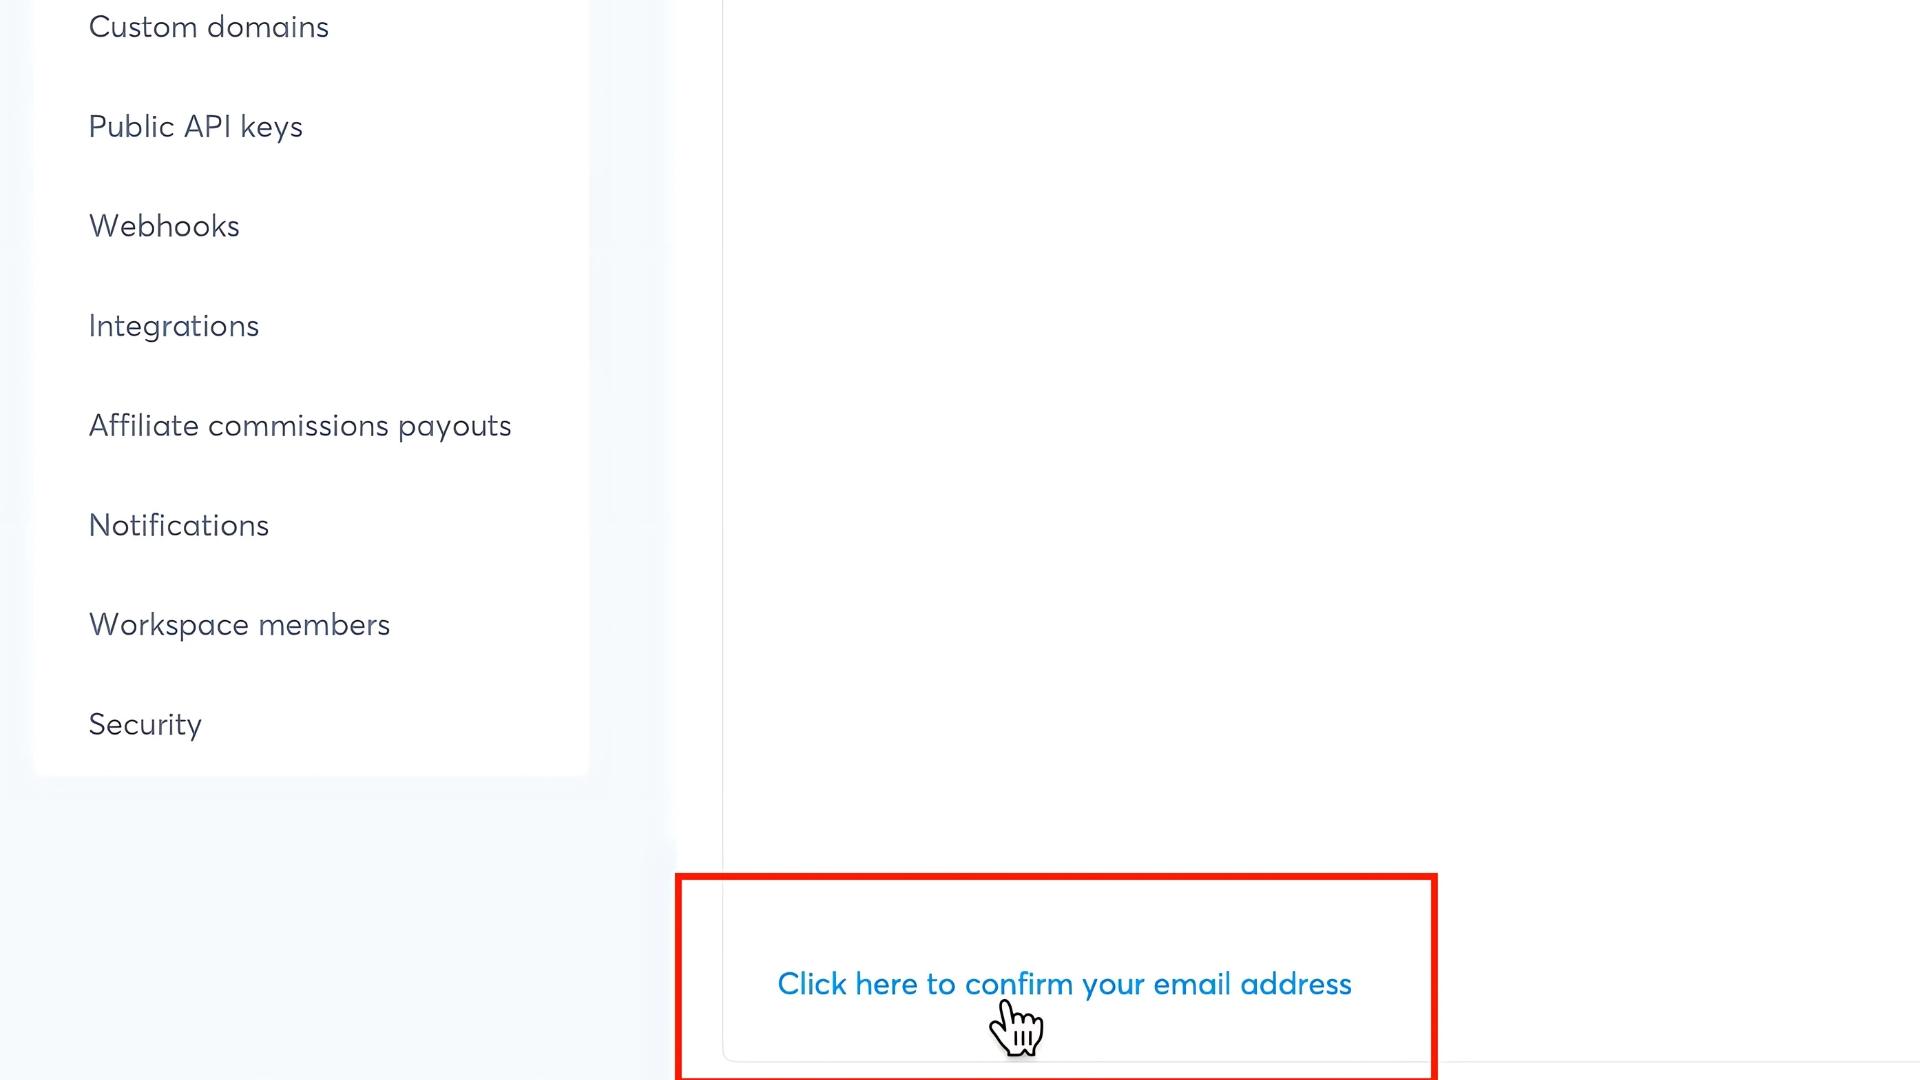
- Look for a confirmation email from Systeme.io and click the link inside
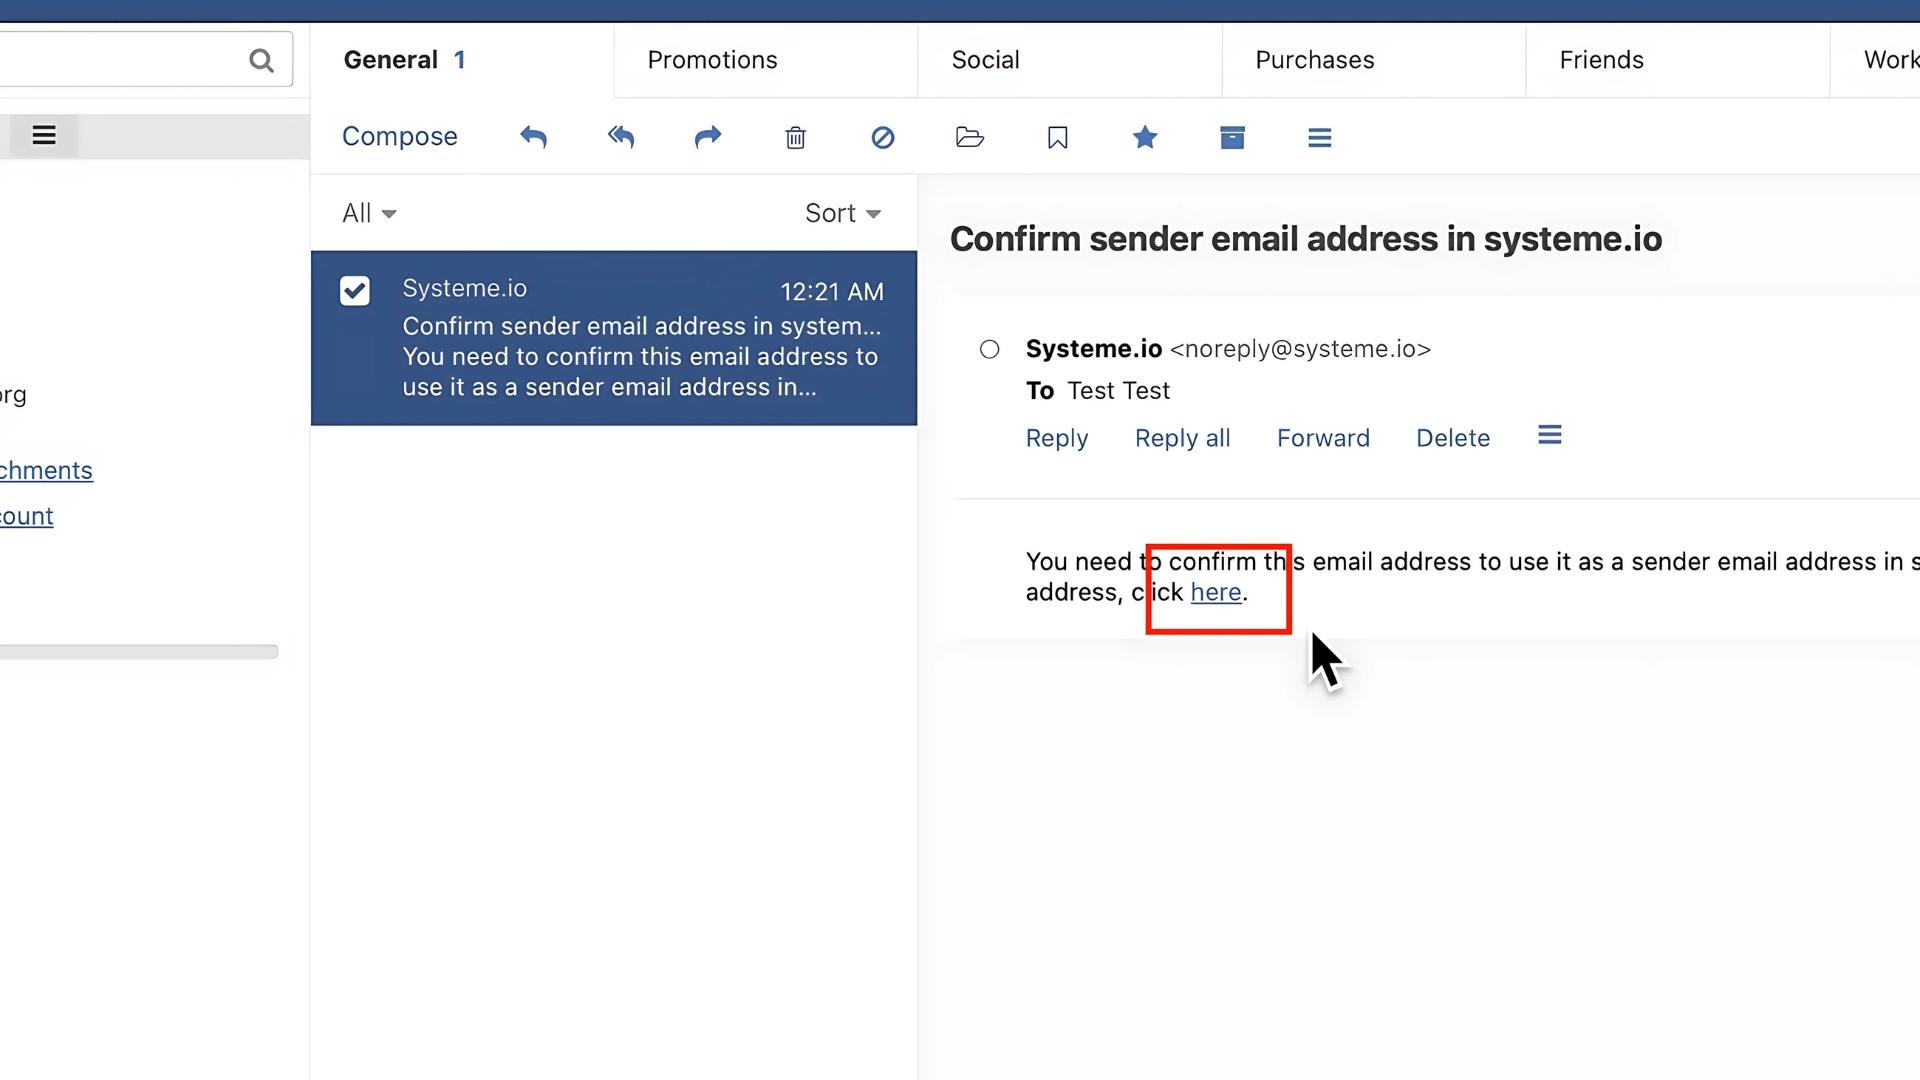
- Go back to Systeme.io and check — your email should now be marked Verified
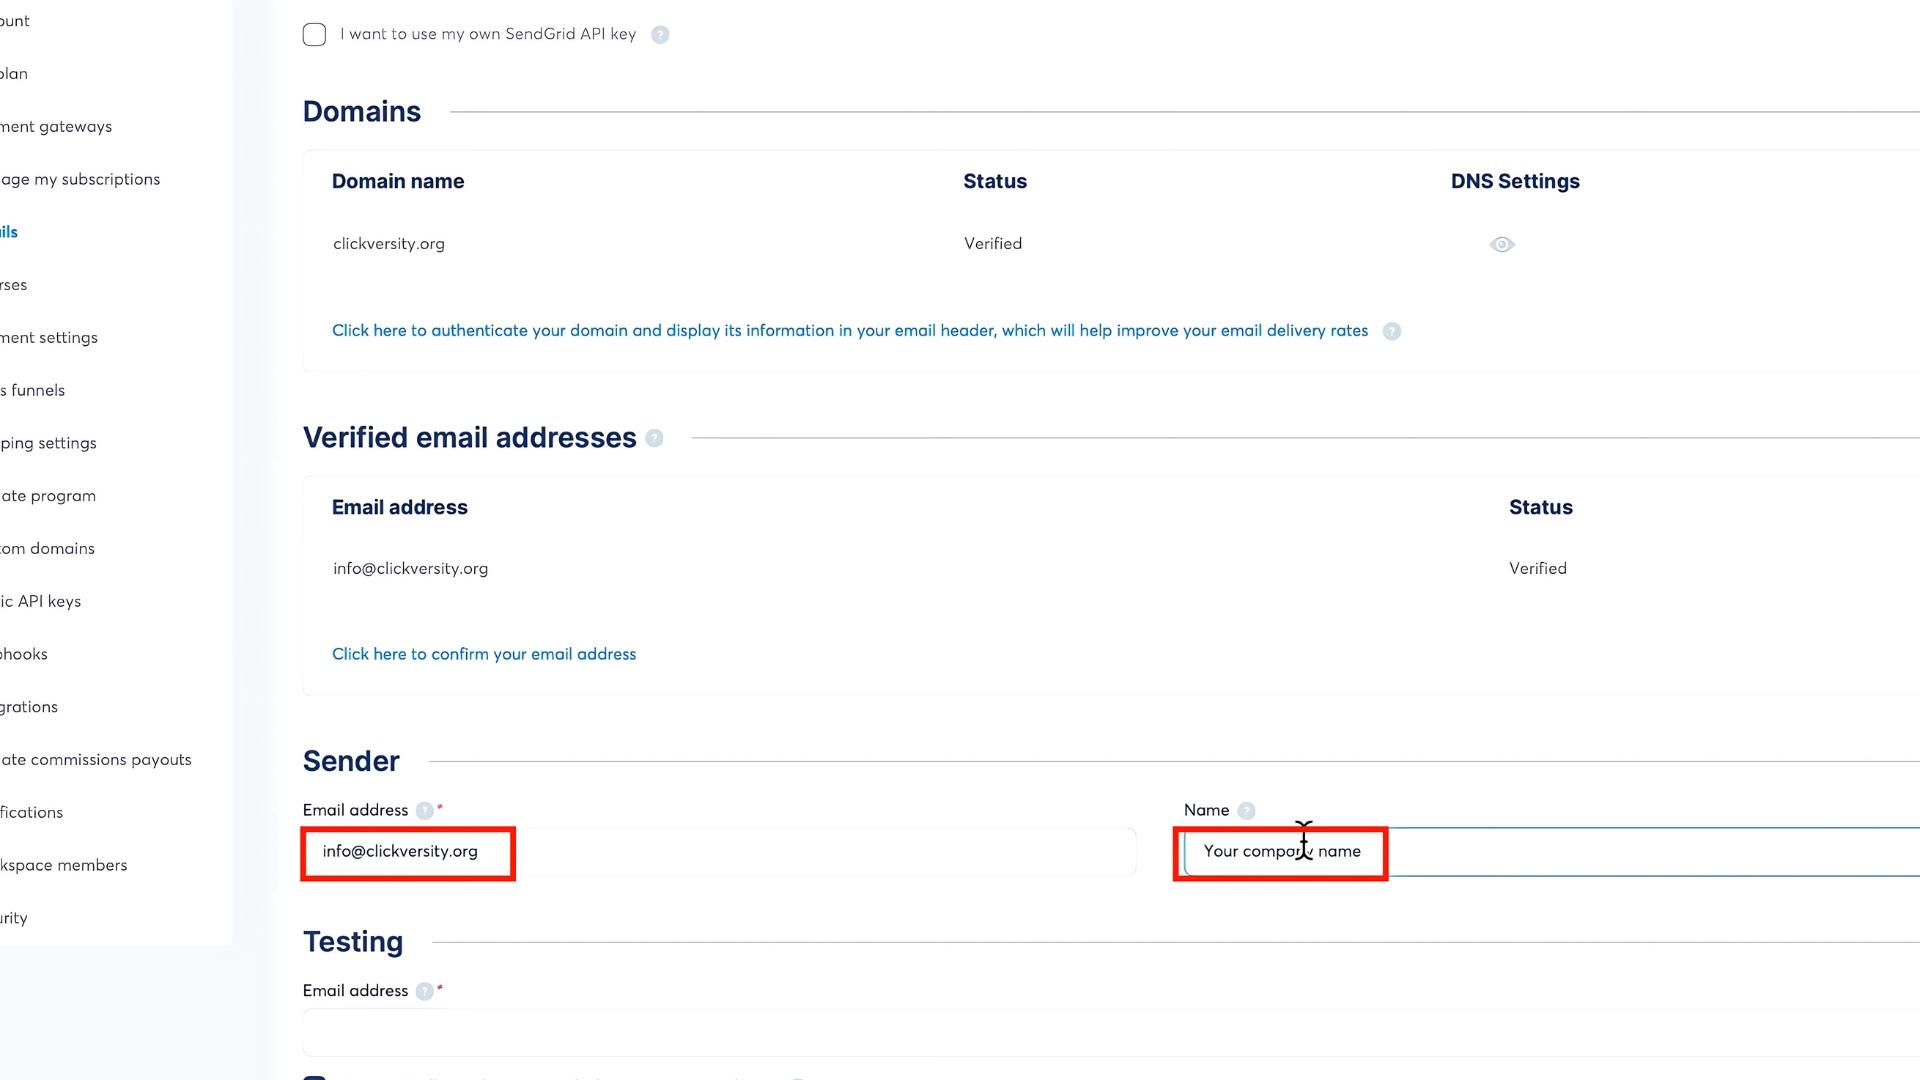
Set Up Your Default Sender and Test Email Address
Before sending any campaigns, update your email settings:
- In Systeme.io → Settings → Emails
- Set your Sender Email to the verified one (e.g.,
info@yourdomain.com) - Add your name or brand name
- Enter a Test Email Address (this can be your personal email)
- Click Save Changes
Now, anytime you send a campaign, Systeme.io will first send a preview to your test email so you can make sure everything looks good.
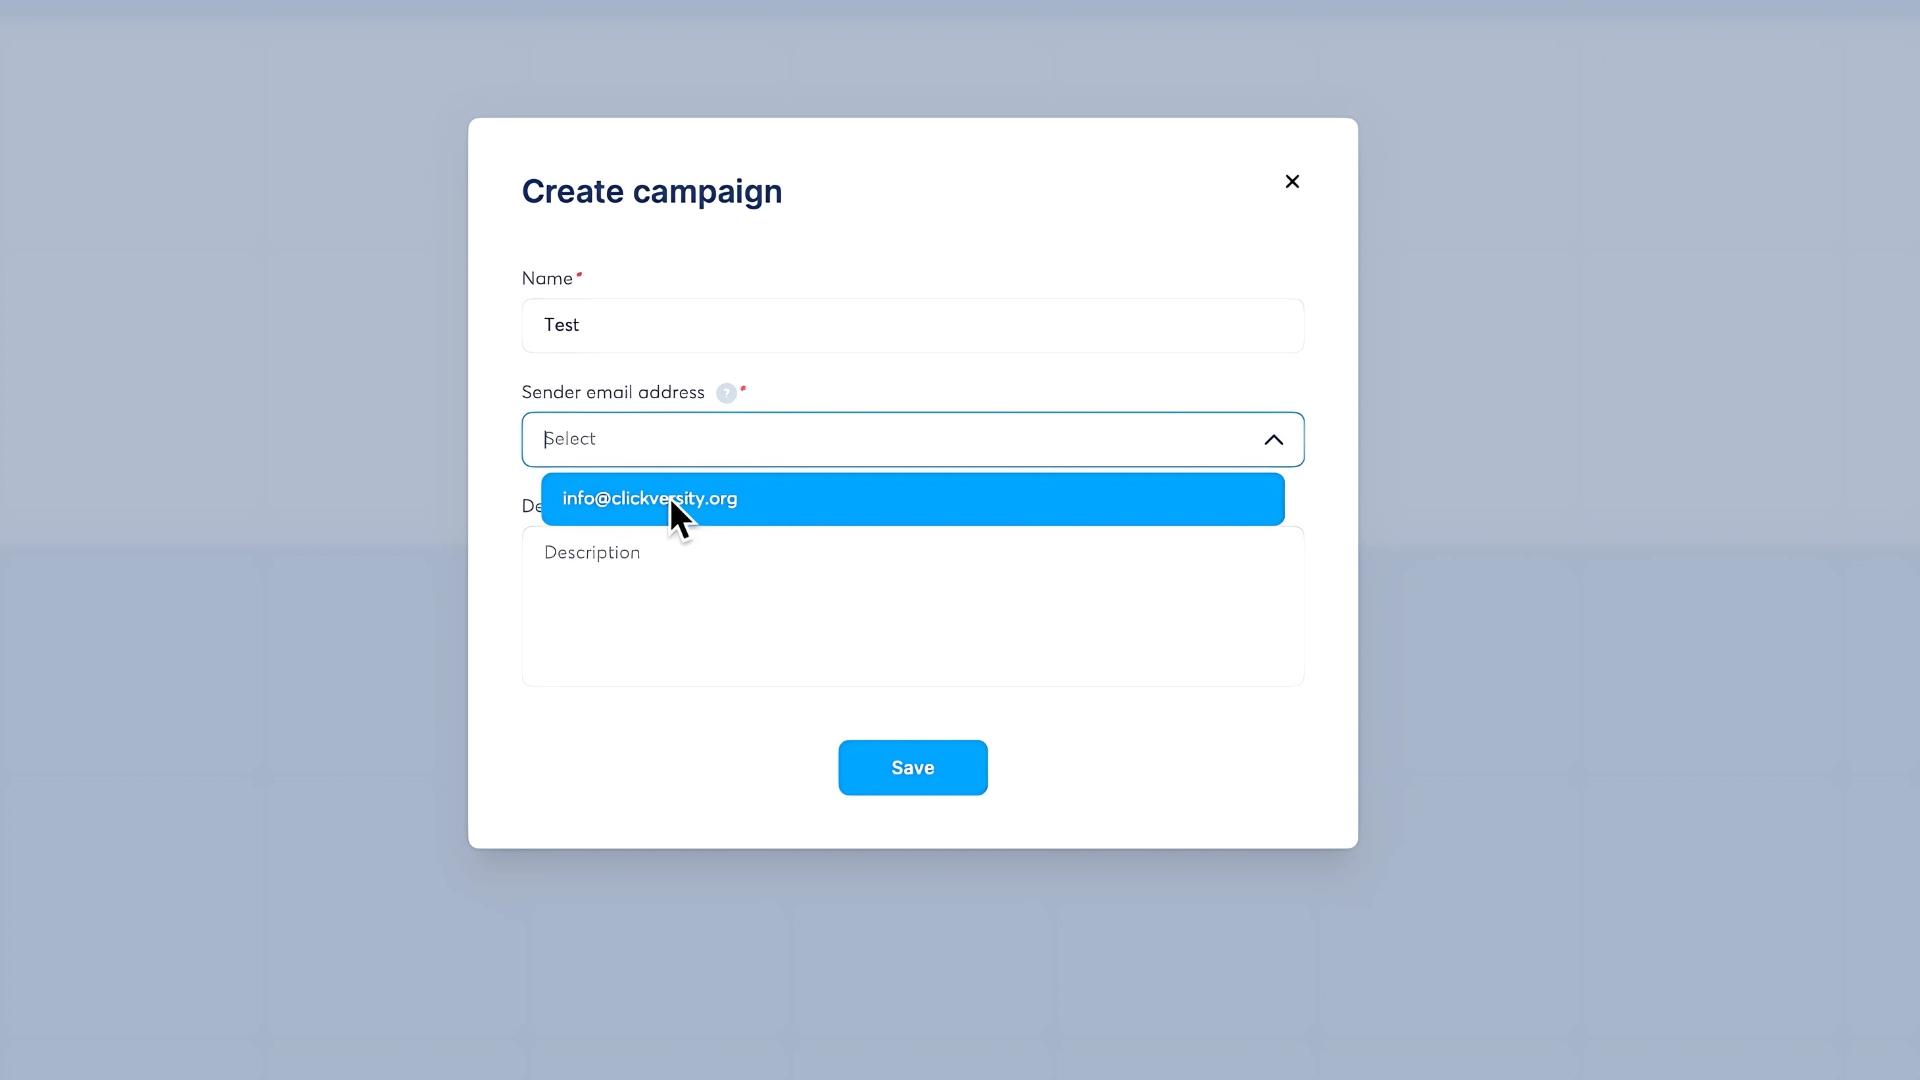
Final Step – Test It with an Email Campaign
Let’s make sure everything is working:
- Go to Emails → Campaigns in Systeme.io
- Click Create, and name your campaign (e.g., “Test”)
- In the Sender field, choose your newly verified email
- If it appears in the list — you’re good to go! ✅
Now You’re Ready to Launch Emails from Systeme.io
You did it! 🙌
It wasn’t that complicated in the end, right?
Now you can start sending professional-looking emails to your subscribers, and there’s a much lower chance you’ll end up in the spam folder.
If you prefer a video walkthrough, definitely check the tutorial at the top of this article.
And if this guide helped you, feel free to check out my free Systeme.io funnel template — it already includes a pre-built structure you can plug into and use right away.

